
How to Record Streaming Music: The Ultimate Guide
Recording streaming music is easier than you think. You just need the right tools and know-how.
Streaming music is everywhere today. From Spotify to Apple Music, millions of songs are at our fingertips. But what if you want to record your favorite tracks? Maybe for offline listening or to create a personal playlist? Recording streaming music can seem complicated, but it doesn’t have to be.
With the right approach and tools, you can capture your favorite tunes effortlessly. This guide will help you understand how to record streaming music step-by-step. So, get ready to dive into the world of recording and enjoy your favorite songs anytime, anywhere.
Introduction To Recording Streaming Music
Have you ever found yourself listening to a great song on a streaming service and wished you could save it for offline listening? Recording streaming music can solve this problem. It allows you to capture your favorite tracks and playlists for later enjoyment.
Recording streaming music is not as complicated as it may seem. With the right tools and techniques, you can easily record high-quality audio from streaming services. This process can help you build your own music library without relying on an internet connection.
Recording streaming music comes with several benefits. Firstly, it gives you the freedom to listen to your favorite songs anytime, even when you’re offline.
Secondly, it allows you to create personalized playlists. You can mix and match songs from different services to curate the perfect collection.
Lastly, recording helps preserve music. Streaming services can remove tracks without notice, but having a recorded copy ensures you won’t lose access to your favorites.
Before you start recording, it’s essential to understand the legal implications. Not all streaming services allow recording, and doing so could violate their terms of use.
You must respect copyright laws. Recording copyrighted music without permission can lead to legal consequences, including fines.
Consider using services that offer offline listening options. These services provide a legal way to download and listen to music without streaming.
Recording streaming music can be an enjoyable way to enhance your listening experience. However, always ensure you follow legal guidelines to avoid any issues.
Have you ever recorded streaming music? What challenges did you face?
Essential Tools And Software
Capture streaming music effortlessly with essential tools like audio recorders and specialized software. These solutions ensure high-quality recordings with ease.
When it comes to recording streaming music, having the right tools and software can make a world of difference. Whether you’re a music enthusiast or a budding DJ, the right setup will ensure you capture high-quality audio effortlessly. Let’s dive into the essential tools and software you need to get started.Hardware Requirements
First off, you’ll need a reliable computer. A desktop or laptop with a decent processor and ample RAM will do the trick. Aim for at least an Intel i5 or its AMD equivalent, with 8GB of RAM. Quality headphones are another must-have. They allow you to monitor the audio in real-time and ensure you’re capturing the best sound possible. Brands like Audio-Technica and Sennheiser offer great options. Lastly, an external sound card can significantly improve your audio quality. It processes the audio outside your computer, reducing interference and providing clearer sound. Look for brands like Focusrite or Behringer.Recommended Software
Now, let’s talk about software. You’ll need a reliable recording program. Audacity is a fantastic free option, known for its user-friendly interface and robust features. If you prefer something more advanced, consider Adobe Audition. It’s a professional-grade software that’s perfect for those who want more control over their recordings. Don’t forget about streaming capture tools. Programs like OBS Studio and Streamlabs can record not just audio but also video, making them versatile choices. What are your go-to tools for recording streaming music? Share your thoughts and recommendations!Setting Up Your Recording Environment
Setting up your recording environment is crucial for capturing high-quality streaming music. A good setup helps minimize unwanted noise and ensures your recordings are clear and professional. Whether you’re new to recording or looking to improve your current setup, these tips can help you get started.
Choosing The Right Space
Start by selecting a quiet room in your home. Avoid areas with lots of foot traffic or external noise.
Consider using a space with soft furnishings. Items like carpets and curtains help absorb sound, reducing echo and background noise.
If possible, choose a small to medium-sized room. Larger rooms can create reverb, which may affect your recording quality.
Optimizing Sound Quality
Once you’ve chosen your space, it’s time to optimize it for the best sound quality. Begin by arranging furniture to break up sound waves and prevent echoes.
Use acoustic panels or foam to treat your walls. These materials help reduce sound reflections and improve overall clarity.
Keep your recording equipment away from windows and doors. These areas can let in outside noise, disrupting your recording.
Consider investing in a good quality microphone. A good mic captures sound more accurately, making a noticeable difference in your recordings.
Lastly, test your setup before starting your recording session. Make adjustments as needed to ensure the best possible sound quality.
What are some of the challenges you’ve faced when setting up your recording environment? Share your experiences and tips in the comments below!
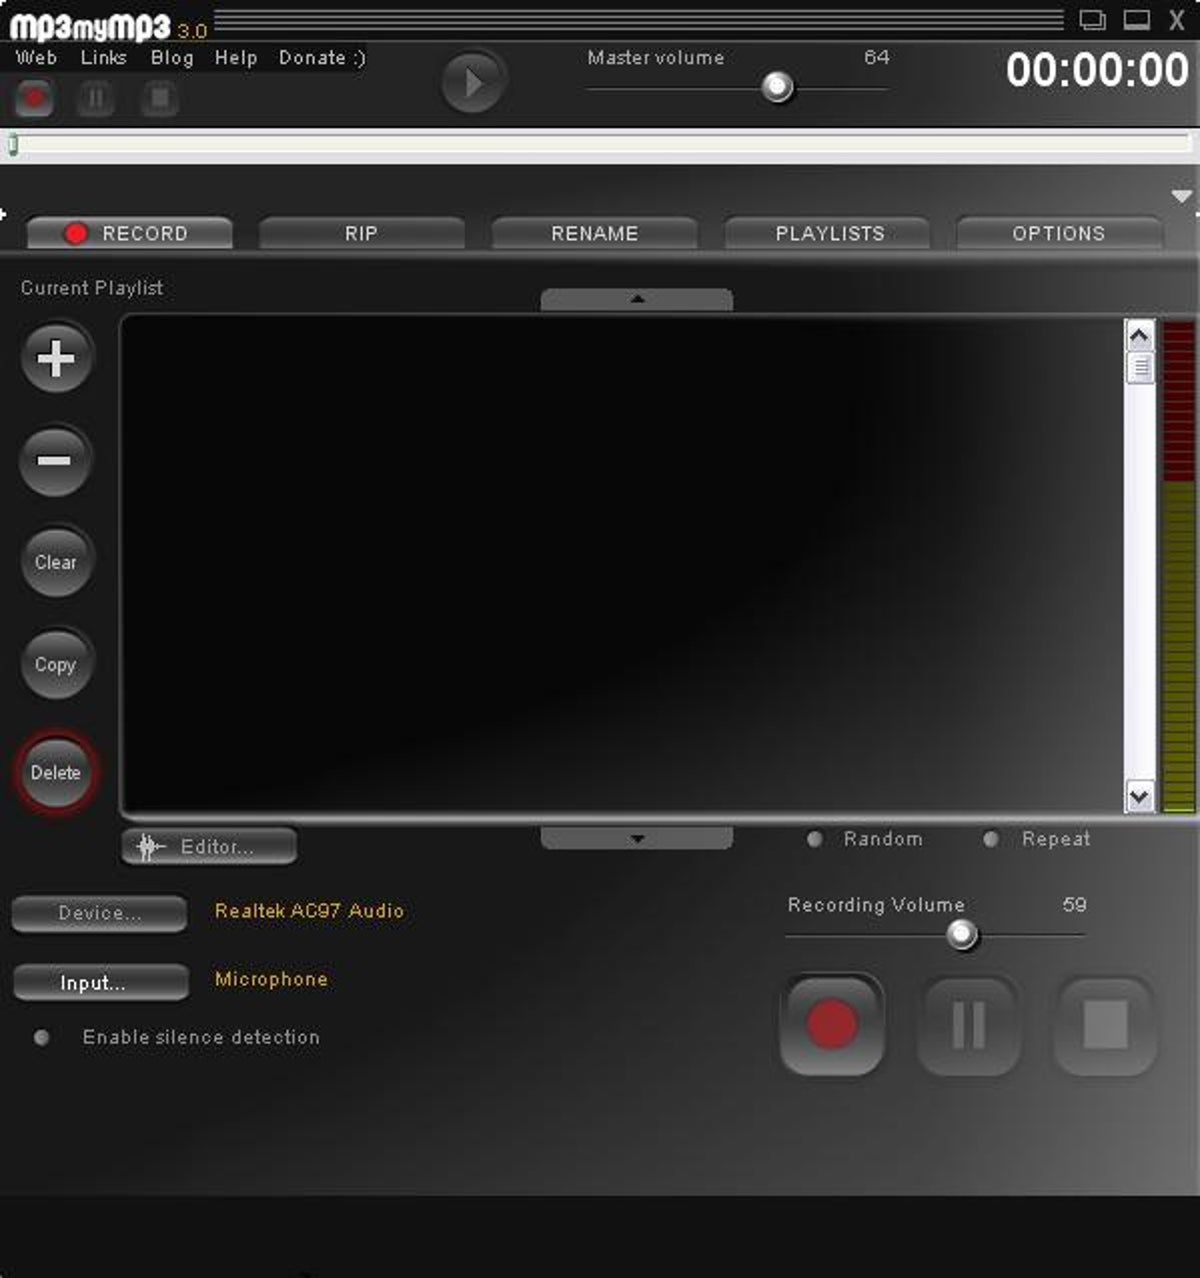
Credit: www.cnet.com
Recording On Different Devices
Recording streaming music can be a fun and rewarding experience. Whether you want to save your favorite tunes for offline listening or create a personalized playlist, knowing how to record on different devices is essential. Let’s dive into the specifics of recording on both PC and Mac.
Recording On Pc
Recording music on a PC is straightforward and can be done using various software options. One popular choice is Audacity, a free, open-source audio editor. It allows you to record audio directly from your computer’s sound card.
- First, download and install Audacity from its official website.
- Open Audacity and go to the ‘Edit’ menu to set up your recording device.
- Select ‘Stereo Mix’ as your input source to capture the audio playing on your PC.
- Hit the record button and start playing the streaming music you want to capture.
- Once the music is recorded, you can edit and save the file in your desired format.
Another excellent option is using a dedicated streaming recorder like Replay Music. It automatically tags and names each track, making your life easier.
Recording On Mac
Recording streaming music on a Mac can be just as easy. One of the best tools for this is QuickTime Player, which comes pre-installed on macOS. It’s simple and efficient for basic recording needs.
- Open QuickTime Player and select ‘File’ then ‘New Audio Recording.’
- Choose your input source (make sure it’s set to capture system audio).
- Press the record button and play your streaming music.
- Once finished, stop the recording and save your file.
For more advanced features, consider using software like Audio Hijack. This tool allows you to record any audio from your Mac, with options for scheduling and more detailed editing.
With these tools and tips, you’re ready to start recording your favorite streaming music on any device. Have you tried any of these methods? What’s your favorite tool for recording music? Share your thoughts and experiences in the comments below.
Step-by-step Recording Process
Recording streaming music involves several straightforward steps. First, choose a reliable recording software. Then, adjust your audio settings for optimal sound quality. Finally, hit record and enjoy your music playback while capturing the audio.
### Step-by-Step Recording Process Recording streaming music can seem daunting at first, but with the right guidance, it becomes a straightforward task. Whether you want to capture a live concert or save your favorite playlist for offline listening, following a step-by-step process ensures you get high-quality recordings without any hitches. ###Preparing Your System
First, make sure your system is ready for recording. Ensure your computer has enough storage space, a good internet connection, and the necessary software installed. Check that your sound card and drivers are up-to-date. This can significantly impact the quality of your recording. If you’re using third-party software, install it and familiarize yourself with its features. Programs like Audacity or OBS Studio are popular options that offer various functionalities. ###Starting The Recording
Once your system is set up, open the streaming service you want to record from. Start playing the music and adjust the volume to an optimal level. Too low, and you won’t capture all the nuances; too high, and it might distort the sound. Open your recording software and select the appropriate input source. This is usually your system’s audio output. Hit the record button before you start playing the music. This ensures you don’t miss the beginning of your track. Monitor the recording levels to ensure they stay within a good range. After the music has finished, stop the recording. Save your file in a format that suits your needs, such as MP3 or WAV. Do you have any tips for preparing your system or starting the recording process? Share them in the comments below!
Credit: www.youtube.com
Editing And Enhancing Recordings
Once you’ve recorded your streaming music, the next step is to edit and enhance your recordings. Editing can polish your music and make it sound professional. Enhancing your recordings with effects can add depth and character. Let’s dive into some basic editing techniques and explore how to use audio effects to elevate your tracks.
Basic Editing Techniques
Start with trimming. Cut out any unwanted parts at the beginning or end of your recording. This gives your track a clean start and finish.
Next, normalize the volume. This ensures that your recording is at a consistent volume level, making it easier to listen to.
Remove any background noise. Use noise reduction tools to eliminate hums, hisses, or other unwanted sounds.
Consider splitting your track. If you have one long recording, break it into individual songs or sections. This makes it easier to navigate and enjoy.
Always save your work. Keep multiple versions so you can revert back if needed.
Using Audio Effects
Audio effects can transform your recordings. Start with reverb. Adding a touch of reverb can make your music sound more spacious and natural.
Experiment with equalization (EQ). Adjusting the EQ can enhance different frequencies, making your music clearer and more balanced. For instance, boost the bass for a fuller sound or reduce the treble if it’s too sharp.
Try compression. This effect reduces the volume of loud sounds and raises the volume of soft sounds. It can make your music sound more polished and professional.
Explore different effects. Don’t be afraid to experiment with chorus, delay, or flanger. These effects can add unique textures to your recordings.
Listen critically. Does the effect enhance the music or does it distract from it? Trust your ears and make adjustments as needed.
Remember, less is often more. Use effects sparingly to avoid overwhelming your music. Focus on enhancing the natural sound of your recordings.
What editing techniques or audio effects do you find most helpful? Share your tips in the comments below!
Saving And Exporting Files
Record streaming music easily by saving and exporting files. Use recording software to capture audio and save it in your preferred format. Export files to your device for offline listening.
Recording streaming music is a fantastic way to enjoy your favorite tunes offline. Once you have captured the music, saving and exporting the files is the next crucial step. This process ensures your recordings are available in the best format and quality.File Formats
Choosing the right file format is essential. Different formats offer various advantages. MP3 is the most common format. It provides good quality and small file sizes. WAV files, on the other hand, offer better sound quality. But they take up more space. FLAC is another option. It gives high-quality sound and smaller file sizes than WAV.Export Settings
Export settings play a key role in the final output. Bitrate is one important setting. A higher bitrate means better quality. But it also means larger files. A bitrate of 128 kbps is standard for MP3. For better quality, you can choose 320 kbps. Sample rate is another setting to consider. A standard rate is 44.1 kHz. This is good for most uses. You can also set the channels. Stereo is common and offers good sound. Mono can be used if you need smaller files. Always review your settings before exporting. This ensures you get the best quality for your needs. By understanding these options, you can save and export your music files effectively.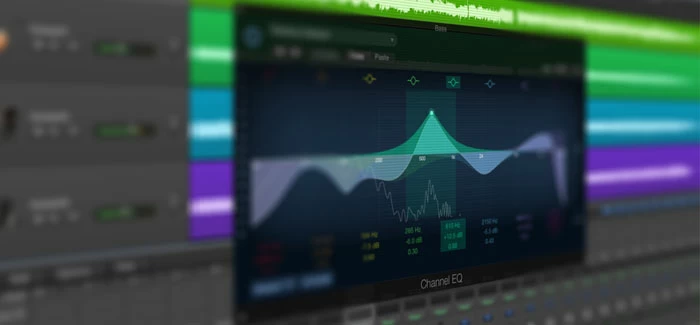
Credit: www.appgeeker.com
Troubleshooting Common Issues
Encountering issues while recording streaming music can be frustrating. But, knowing how to troubleshoot common problems can make the process smoother. In this section, we will address some typical issues and their solutions.
Audio Sync Problems
Audio sync problems can disrupt your listening experience. To fix this, check your recording software settings. Ensure the sample rate matches between your input and output devices. This can solve most sync issues.
If the problem persists, try updating your audio drivers. Outdated drivers can cause sync problems. Also, close other applications running in the background. They can interfere with the recording process.
Poor Sound Quality
Poor sound quality can ruin your recordings. First, ensure you are using a high-quality audio source. Low-quality streams will result in poor recordings.
Next, adjust the recording settings. Set the bit rate and sample rate to higher values. This improves the quality of the recorded audio.
Background noise can also affect sound quality. Record in a quiet environment. Use noise-canceling headphones and a good microphone. These steps can significantly improve your recordings.
Tips For High-quality Recordings
Recording streaming music can be tricky without the right techniques. High-quality recordings make a big difference in the final sound. Below are some tips to help you achieve better results.
Reducing Background Noise
Background noise can ruin a recording. Choose a quiet place. Turn off fans, TVs, and other devices. Use noise-canceling headphones. These can block out unwanted sounds. Consider using software to filter noise. Some programs can clean up recordings.
Using Quality Equipment
Good equipment is essential for high-quality recordings. Invest in a good microphone. A USB microphone is a good start. It offers clear sound and is easy to use. Pair it with a pop filter. This reduces popping sounds. Use a good audio interface. This connects your microphone to your computer. It improves the recording quality.
Check your recording software. Make sure it is reliable. Some programs offer advanced features. These can enhance your recordings. Lastly, use good speakers or headphones. They help you hear the details in your music.
Sharing And Distributing Your Recordings
Sharing your recorded streaming music can be exciting. It’s a way to let others enjoy your curated sounds. The digital age provides many ways to distribute your music. This section covers some of the best methods.
Uploading To Streaming Platforms
Streaming platforms are a great way to reach a larger audience. Many services allow you to upload your recordings. Spotify, Apple Music, and SoundCloud are popular choices. Create an account if you don’t have one. Follow their upload guidelines. Make sure your recordings are high quality. Clear titles and descriptions help listeners find your music. Consistency in your uploads can build a loyal audience.
Sharing With Friends
Sharing with friends can be more personal. Use messaging apps like WhatsApp or Telegram. These apps let you share files directly. Social media is also effective. Platforms like Facebook and Instagram offer easy sharing options. Create posts with short clips of your recordings. Invite friends to listen and share. Email is another option. Attach your recordings to a friendly message. This can make your sharing efforts feel more personal.
Frequently Asked Questions
Is It Possible To Record Streaming Music?
Yes, you can record streaming music using various software tools. Ensure you comply with copyright laws.
What Is The Best Streaming Audio Recorder?
Audacity is widely considered the best streaming audio recorder. It is free, open-source, and offers powerful editing features.
Is There A Device To Record Streaming?
Yes, you can use devices like DVRs, capture cards, or software to record streaming content.
How Do Youtubers Record Their Audio?
YouTubers record their audio using high-quality microphones, audio interfaces, and soundproofing techniques. They often use software for editing.
Conclusion
Recording streaming music is easy with the right tools. Follow the steps outlined, and you’ll have your favorite songs saved. This guide helps you enjoy music offline anytime. Remember to respect copyright laws. Happy listening and recording!


