Best Stream Deck Setup for OBS: Maximize Your Streaming Efficiency
Setting up the perfect Stream Deck for OBS can transform your streaming experience. It makes managing your stream smoother and more professional.
Stream Decks are powerful tools that help streamers control various aspects of their broadcasts with ease. By customizing your Stream Deck for OBS, you can create shortcuts for scene transitions, sound effects, and more. This setup can significantly enhance the quality of your content and improve viewer engagement.
Whether you are a beginner or an experienced streamer, finding the best Stream Deck setup can streamline your workflow and make your streams more enjoyable. Let’s dive into how you can optimize your Stream Deck for the best OBS setup and take your streaming game to the next level.
Introduction To Stream Decks
Have you ever wished your streaming setup could be more efficient and interactive? If so, you might want to consider using a Stream Deck. This handy tool can transform your streaming experience, making it smoother and more professional.
Let’s dive into what a Stream Deck is and why it’s important for streaming.
What Is A Stream Deck?
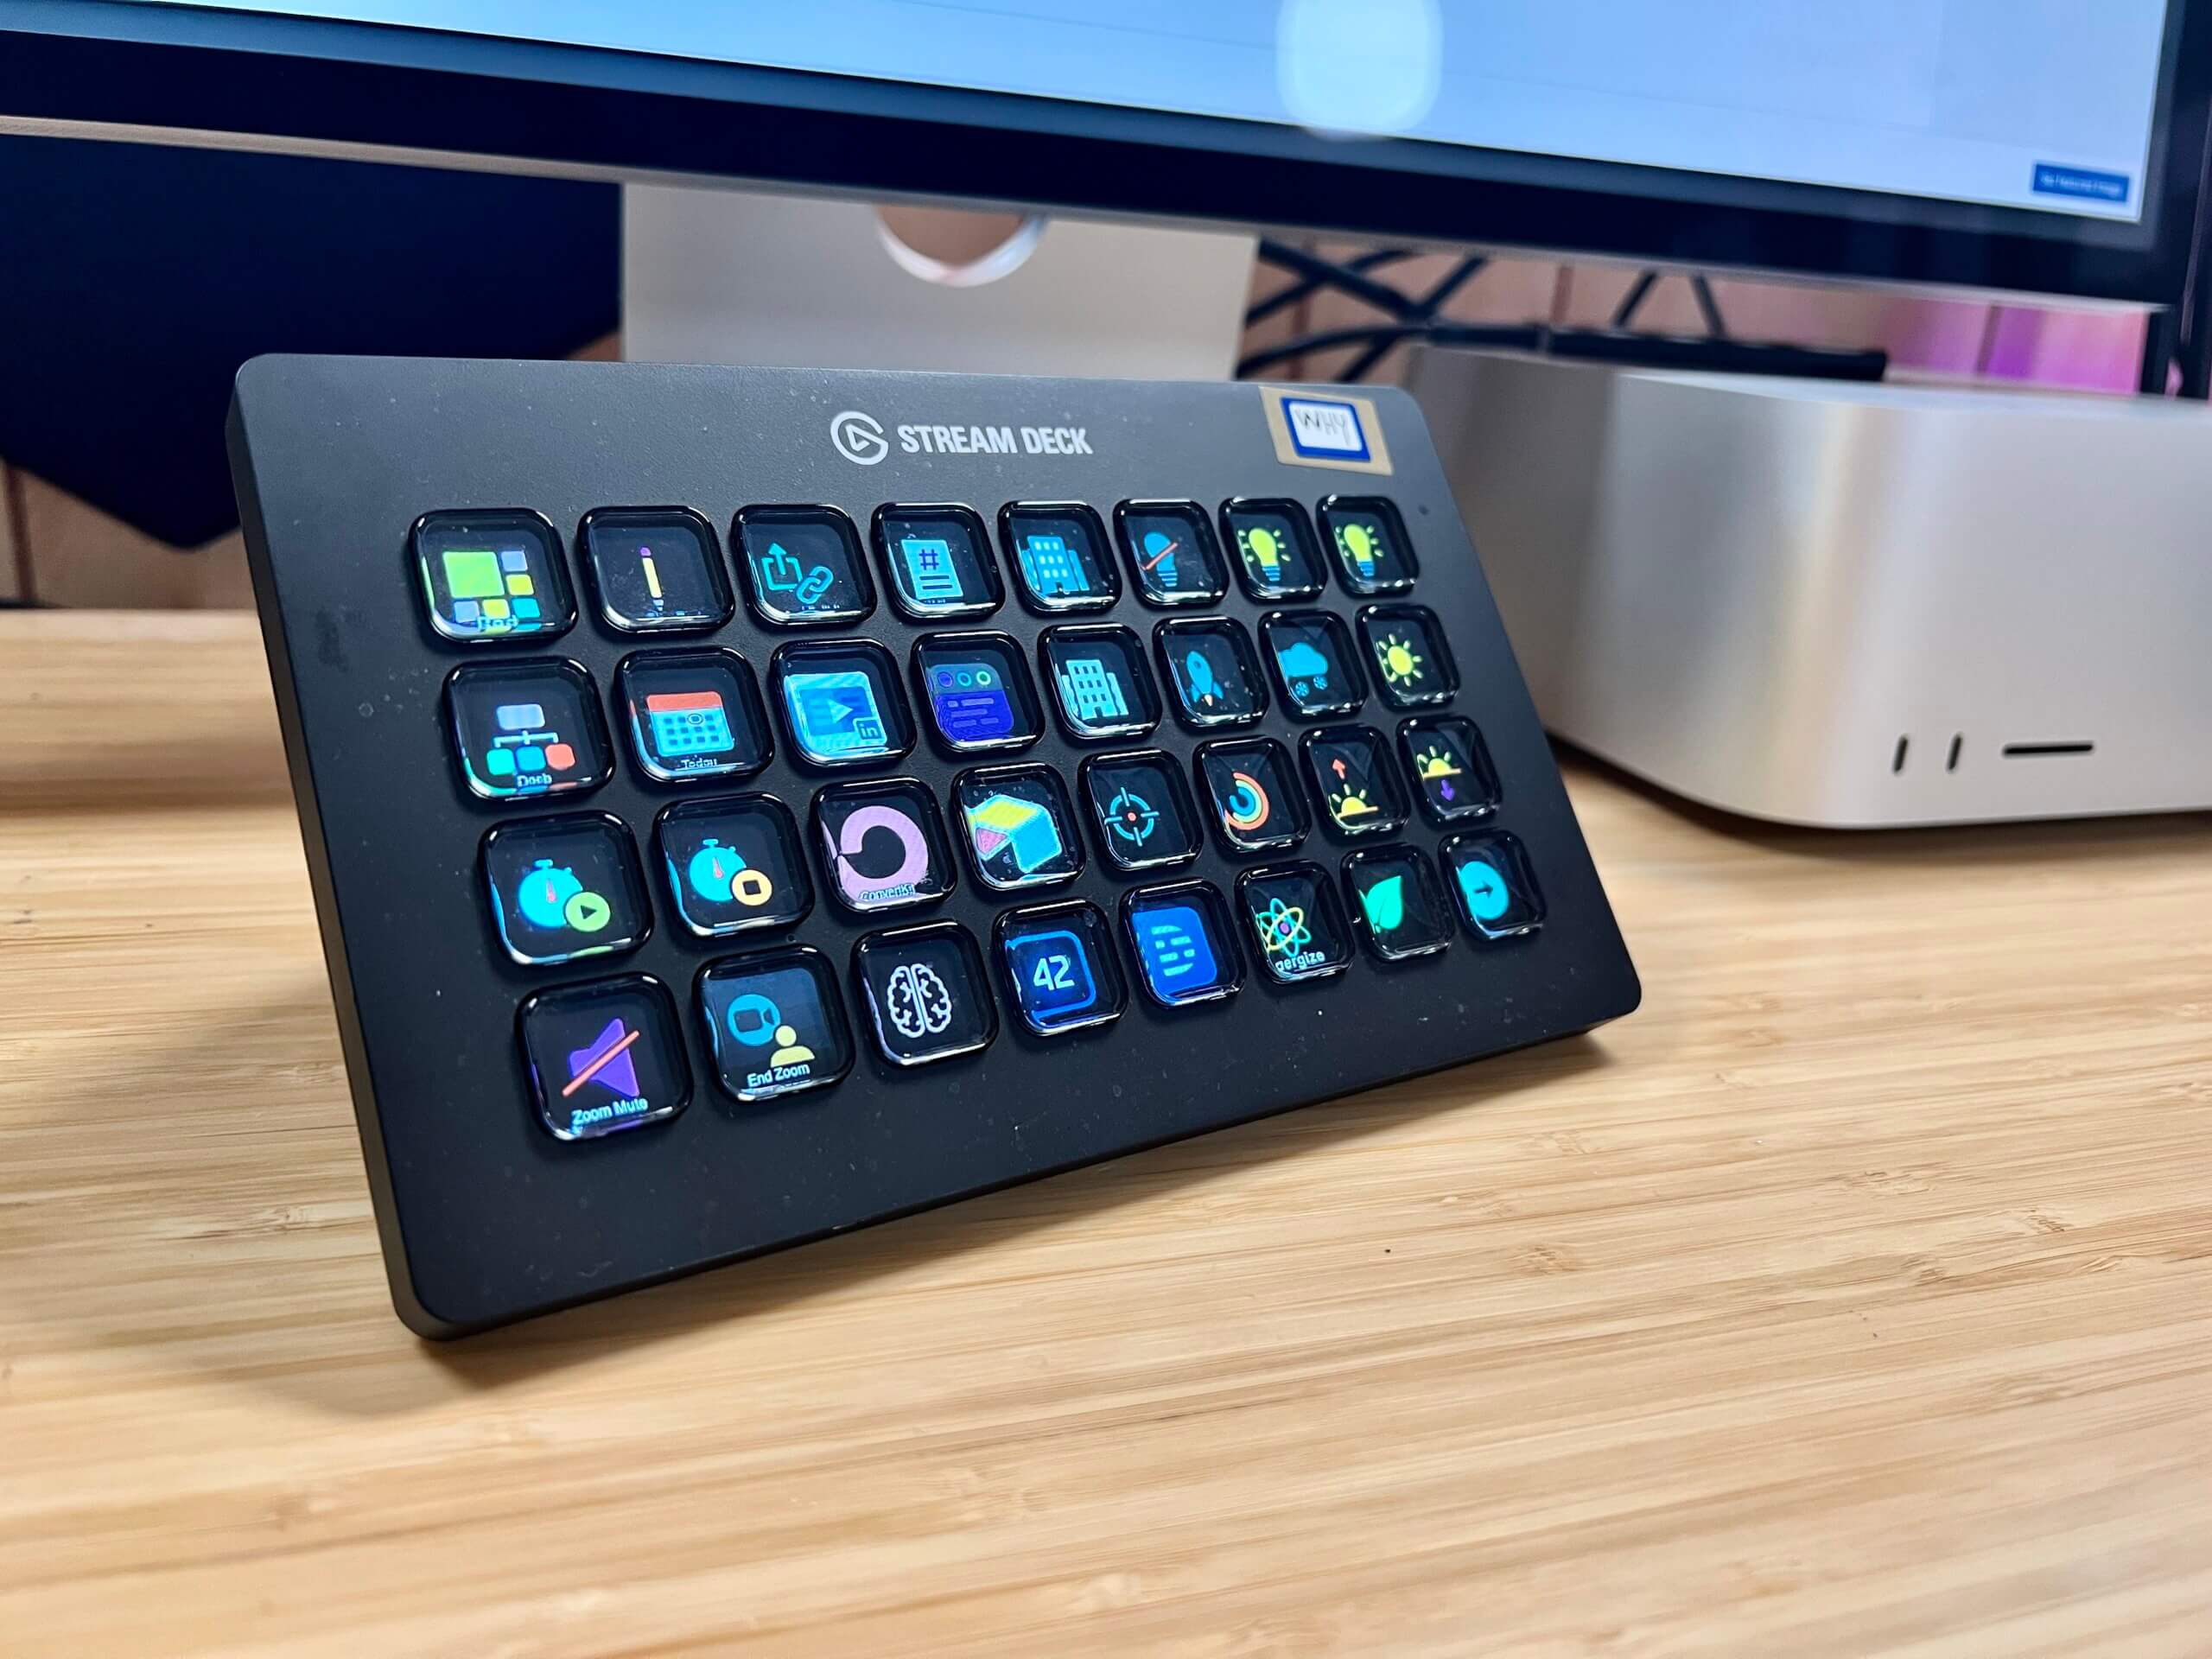
A Stream Deck is a customizable control pad with physical buttons. Each button can be programmed to perform specific actions.
Think of it as a remote control for your streaming software. You can set up shortcuts for various tasks like switching scenes, starting or stopping recording, and much more.
For example, you can have one button that instantly mutes your microphone, while another button changes your background. It’s like having a personal assistant at your fingertips.
Importance In Streaming
Why is a Stream Deck so crucial for streamers? First, it simplifies complex tasks. Instead of clicking through multiple menus, you can perform actions with a single button press.
This ease of use saves you time and lets you focus on engaging with your audience. Viewers appreciate seamless transitions and professional setups.
Moreover, a Stream Deck offers consistency. You won’t miss a beat during your streams, ensuring a smooth and enjoyable experience for your viewers.
Have you ever thought about how much time you spend managing your stream setup? Imagine reducing that time significantly. Wouldn’t that be a game-changer?
In my experience, having a Stream Deck made my streaming sessions far more enjoyable. I could interact more with my audience without getting bogged down by technical issues.
So, if you’re serious about streaming, investing in a Stream Deck could be one of the best decisions you make.
Ready to upgrade your streaming game? Let’s explore how a Stream Deck can help you achieve that. You won’t regret it!

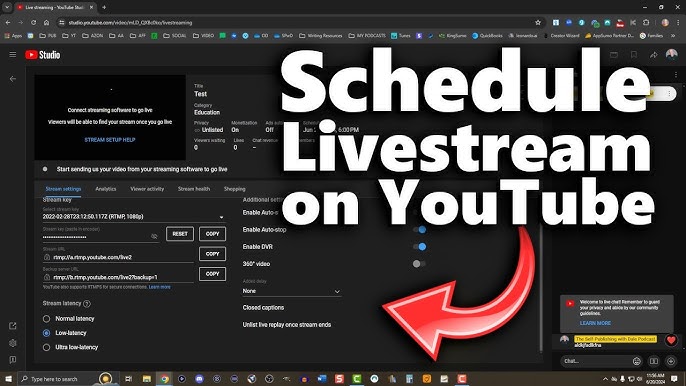
Credit: www.youtube.com
Choosing The Right Stream Deck
Choosing the right Stream Deck for OBS can be a game-changer in your streaming setup. With so many models and features available, it’s essential to know what suits your needs best. Let’s dive into the key aspects to consider when picking your Stream Deck.
Different Models
Elgato offers several Stream Deck models, each tailored for different users. The original Stream Deck has 15 customizable LCD keys. It’s perfect for moderate usage and offers enough options for most streamers.
The Stream Deck Mini, with its 6 keys, is ideal if you’re just starting out or have limited desk space. On the other hand, the Stream Deck XL, featuring 32 keys, is for those who need extensive control and more shortcuts at their fingertips.
Factors To Consider
When choosing a Stream Deck, the number of keys is crucial. Ask yourself how many functions you want quick access to. More keys mean more shortcuts, but also a bigger device. Balance your need for efficiency with the space on your desk.
Consider your budget. Stream Decks range in price. While the Mini is more affordable, the XL offers more functionality. Think about your long-term streaming goals and how much you’re willing to invest.
Integration with OBS is another factor. All Elgato Stream Decks work seamlessly with OBS, but check for any additional plugins you might need. This ensures you can set up your scenes and transitions smoothly.
Personal experience can be a good guide. I found the original Stream Deck just right for my needs. It fits well on my desk and provides enough keys for all my OBS shortcuts. It’s a good middle ground between the Mini and XL.
What about you? Have you thought about the kind of control you want during your streams? Reflecting on these factors can help you make a well-informed decision.
Setting Up Your Stream Deck
Optimize your OBS setup with the best Stream Deck configuration. Enhance your streaming experience with custom shortcuts and seamless transitions. Simplify your workflow and engage your audience effortlessly.
### Setting Up Your Stream Deck Getting your Stream Deck ready for OBS can seem daunting, but it doesn’t have to be. With a few simple steps, you can streamline your streaming process and make your workflow more efficient. Let’s dive into how you can get your Stream Deck set up for OBS, ensuring you get the most out of your streaming experience. ###Initial Configuration
First, you’ll want to start with the initial configuration of your Stream Deck. Plug in your Stream Deck and download the Stream Deck software from the official website. Once installed, open the software and follow the on-screen instructions. You’ll see a grid of buttons. This is where the magic happens. Each button can be customized to perform a different action. You can add icons, text, and even create folders for more complex setups. It’s worth spending a few minutes thinking about your most-used actions. Do you switch scenes often? Maybe you need quick access to sound effects. Prioritize these actions and map them out on your grid. ###Connecting To Obs
Now, let’s connect your Stream Deck to OBS. Open OBS Studio and make sure it’s running in the background. Go back to your Stream Deck software and click on the OBS Studio icon. You’ll need to authorize the connection between the two. Follow the prompts to do this. Once connected, you can start assigning OBS actions to your Stream Deck buttons. For instance, you can assign a button to switch scenes, mute your microphone, or start/stop your stream. Drag and drop these actions from the right-hand side of the Stream Deck software onto your grid. Test each button to ensure it works as expected. If you encounter any issues, double-check your OBS settings and the Stream Deck software. Sometimes, a quick restart can fix minor glitches. ###Final Touches
Personalize your setup. Add custom icons and labels to make each button easily identifiable. You can use images or icons that resonate with you. Remember, your Stream Deck is a tool to make your streaming life easier. Don’t be afraid to tweak and adjust your setup as you go. What works today might need a change tomorrow. Keep it flexible and enjoy the process. Are there any specific actions you find yourself doing repeatedly during your streams? Consider adding those to your Stream Deck setup. By customizing your Stream Deck, you’re not just saving time; you’re also enhancing your overall streaming experience. Happy streaming!Customizing Buttons For Efficiency
Customizing buttons for efficiency on your Stream Deck can save time and effort. It allows you to perform tasks faster and with fewer errors. This setup is especially useful for OBS users who need to manage multiple functions seamlessly.
Creating Custom Icons
Creating custom icons for your Stream Deck adds a personal touch. It helps in quickly identifying buttons. Use simple, easy-to-recognize images. Tools like Photoshop or free online icon makers can be very helpful.
Keep the design clean and straightforward. Avoid overly detailed images. Remember, the goal is to make icons easy to understand at a glance.
Assigning Functions
Assigning functions to each button is crucial for efficiency. You can set buttons for common tasks like starting and stopping streams. Assign other buttons for switching scenes or muting audio.
Take advantage of multi-action buttons. This feature lets you perform several actions with a single press. Group related functions together for easy access.
Test your setup thoroughly. Make sure every button does exactly what you need. Adjust as necessary to optimize your workflow.
Essential Obs Functions
When setting up your Stream Deck for OBS, it’s important to focus on the essential functions that can help streamline your streaming process. From switching scenes effortlessly to controlling your audio like a pro, these functions will make your live streams look polished and professional. Let’s dive into the essential OBS functions you should set up on your Stream Deck.
Scene Switching
One of the most powerful features of OBS is the ability to switch scenes seamlessly. With your Stream Deck, you can assign a button for each scene, making transitions smooth and instantaneous.
Imagine you’re playing a game and want to switch to a “Be Right Back” scene. Instead of fumbling around with your mouse, you just press a button. It’s that simple. Your viewers get a professional experience, and you stay focused on your content.
Consider labeling each button with an icon or text to quickly identify the scenes. This visual cue helps you avoid mistakes during a live stream. The fewer the distractions, the better the broadcast.
Audio Controls
Audio can make or break your stream. Having quick access to audio controls on your Stream Deck ensures that you can mute, adjust volumes, and switch audio sources without missing a beat.
Let’s say your dog starts barking while you’re streaming. With a dedicated mute button, you can quickly silence your mic. This keeps your stream professional and your audience engaged.
It’s also helpful to have buttons for adjusting the volume of your game, background music, or chat. This allows you to balance audio levels on the fly, ensuring a pleasant listening experience for your viewers.
What other essential functions do you think are crucial for a smooth streaming experience? Share your thoughts in the comments below!
Credit: casabona.org
Advanced Stream Deck Features
Setting up your Stream Deck for OBS (Open Broadcaster Software) is a game-changer for any streamer. Advanced Stream Deck features can significantly elevate your streaming experience by adding layers of functionality and customization. These features are not just for tech wizards; they are surprisingly intuitive and can make your streaming sessions smooth and professional.
Multi-actions
Multi-Actions allow you to execute multiple commands with a single button press. Imagine starting your stream, switching scenes, and playing your intro music—all at once. This feature can streamline your workflow.
For instance, you can set up a Multi-Action button to transition to your “Starting Soon” scene, mute your microphone, and send a tweet to announce that you’re live. It’s like having an extra pair of hands to manage your stream.
Take some time to think about the repetitive tasks you do every stream. Set up Multi-Actions to handle those tasks, and you’ll have more time to focus on engaging with your audience. What tasks can you automate to make your streams more efficient?
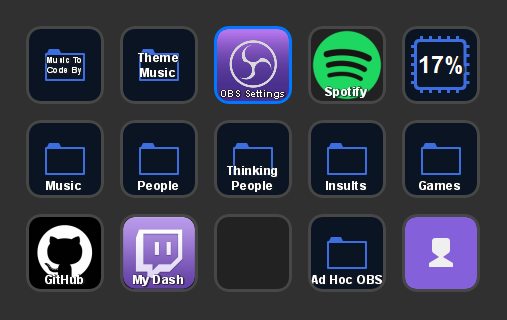
Profiles And Folders
Profiles and Folders are fantastic for organizing your Stream Deck. If you stream different types of content, such as gaming, podcasts, or tutorials, you can create separate profiles for each type. This keeps your Stream Deck uncluttered and easy to navigate.
Folders are another great organizational tool. Within a single profile, you can create folders for different scenes, sound effects, or other actions. This way, you don’t have to scroll endlessly to find what you need.
I’ve found that keeping my main page clean and putting less frequently used actions in folders helps me stay focused. Try creating a profile specifically for your OBS setup. How can you use folders to reduce clutter and improve your workflow?
Advanced Stream Deck features can turn your streaming setup into a powerful, efficient machine. By mastering Multi-Actions and organizing with Profiles and Folders, you’ll be able to manage your stream like a pro. Happy streaming!
Integrating Third-party Plugins
Integrating third-party plugins can significantly enhance your Stream Deck setup for OBS. These plugins add more functionalities and make your streaming experience smoother. They can automate tasks, control different software, and provide unique features that OBS alone may not offer.
Popular Plugins
Some of the most popular third-party plugins include VoiceMeeter, BarRaider’s plugins, and Streamlabs. VoiceMeeter helps manage audio mixing with ease. BarRaider’s plugins offer various tools like timers and Twitch channel points integration. Streamlabs plugin provides quick access to Streamlabs features directly from your Stream Deck.
Installation And Setup
Installing third-party plugins is straightforward. First, download the plugin from a trusted source. Next, open the Stream Deck software on your computer. Click on the settings icon and select the “Plugins” tab. Drag and drop the downloaded file into the plugins window.
Follow the on-screen instructions to complete the installation. After installation, you can find the new plugin under the “Custom” section in the Stream Deck software. Configure the plugin according to your needs. Test the plugin to ensure it works correctly with OBS.
Credit: jeffreyfritz.com
Troubleshooting Common Issues
Setting up your Stream Deck with OBS can be exciting. But, like any tech tool, it can sometimes present challenges. Below are some common issues you might face and how to fix them.
Connectivity Problems
First, ensure your Stream Deck is connected correctly. Check the USB cable and port. Sometimes, a faulty connection can cause problems. Try using a different USB port. If that doesn’t work, reboot your computer. This can reset any connection issues.
Next, ensure your Stream Deck software is up-to-date. Outdated software can lead to connectivity problems. Go to the Stream Deck website and download the latest version. Install it and restart your device. This often solves the issue.
Button Not Responding
Buttons not responding can be frustrating. First, check if the Stream Deck app is running. If it’s not, open it. Sometimes the app crashes or closes unexpectedly. If the app is running, check your button settings. Ensure each button is assigned a function.
If the buttons still don’t work, try restarting the Stream Deck software. Close the app and reopen it. This can refresh the connection. Lastly, check for any software updates. Updating the app can fix bugs and improve performance.
Maximizing Streaming Efficiency
Streaming has become a popular way to share content. Streamers need tools to make their broadcasts smooth and professional. One such tool is the Stream Deck. It can help manage scenes, audio, and more in OBS. This setup can make a big difference in your streaming efficiency.
Tips And Tricks
Organize your Stream Deck buttons by function. Keep similar actions together. Use folders to avoid clutter. This way, you can find buttons quickly. Customize the icons. Visual cues help you remember what each button does. Use multi-actions for complex tasks. One button can trigger many actions at once.
Set up hotkeys in OBS. Assign these hotkeys to your Stream Deck. This makes switching scenes or muting audio faster. Use the Stream Deck’s timers. Timers remind you to take breaks or switch topics. Finally, back up your settings. Save your Stream Deck profile to avoid losing your setup.
Real-world Examples
Imagine a gamer who streams daily. They use the Stream Deck to switch scenes. One button changes from gameplay to webcam view. Another mutes the microphone. They also use it for sound effects. This setup keeps their hands on the controller. They don’t need to click around in OBS. This makes their stream more engaging.
Consider a musician streaming live performances. They use the Stream Deck to manage audio levels. One button boosts the guitar. Another lowers the vocals. They also use it to switch camera angles. This keeps the stream dynamic and interesting. Their viewers enjoy a professional-quality show.
Frequently Asked Questions
Can You Use A Stream Deck With Obs?
Yes, you can use a Stream Deck with OBS. It enhances streaming by offering customizable shortcuts for various functions.
What Should My Obs Stream Settings Be For Best Quality?
Use 1080p resolution, 60fps, 6000kbps bitrate, and NVENC encoder for best OBS stream quality. Adjust audio to 48kHz, 320kbps.
Does Obs Work On Steam Deck?
Yes, OBS works on Steam Deck. You can install and use OBS Studio for recording and streaming. Make sure to follow the setup instructions carefully.
How Should I Set Up My Stream Deck?
To set up your Stream Deck, download and install the Stream Deck software. Connect your Stream Deck to your computer. Open the software, then customize buttons by dragging actions onto them. Adjust settings as needed. Enjoy your personalized setup.
Conclusion
Setting up your Stream Deck for OBS can be simple and fun. Customize buttons to fit your needs. Use folders to keep it organized. Streamline your workflow for a smoother streaming experience. Experiment with different setups. Find what works best for you.
Enjoy the process. Happy streaming!