How to Transfer Streamlabs Scenes to Another Computer: Easy Guide
Transferring Streamlabs scenes to a new computer is easy. You just need to follow a few steps.
Streamlabs is popular among streamers for its user-friendly features. But switching computers can seem like a hassle. Don’t worry, moving your scenes is simple. Whether you’re upgrading your setup or just switching devices, you can take your Streamlabs scenes with you.
This guide will show you how to transfer your scenes quickly. No need to start from scratch. Keep your overlays, alerts, and settings intact. Ready to make the move? Let’s get started!
Preparing For Transfer
Transferring Streamlabs scenes to another computer requires preparation. You need to make sure everything is backed up and compatible. This ensures a smooth transition and minimizes potential issues.
Backing Up Scenes
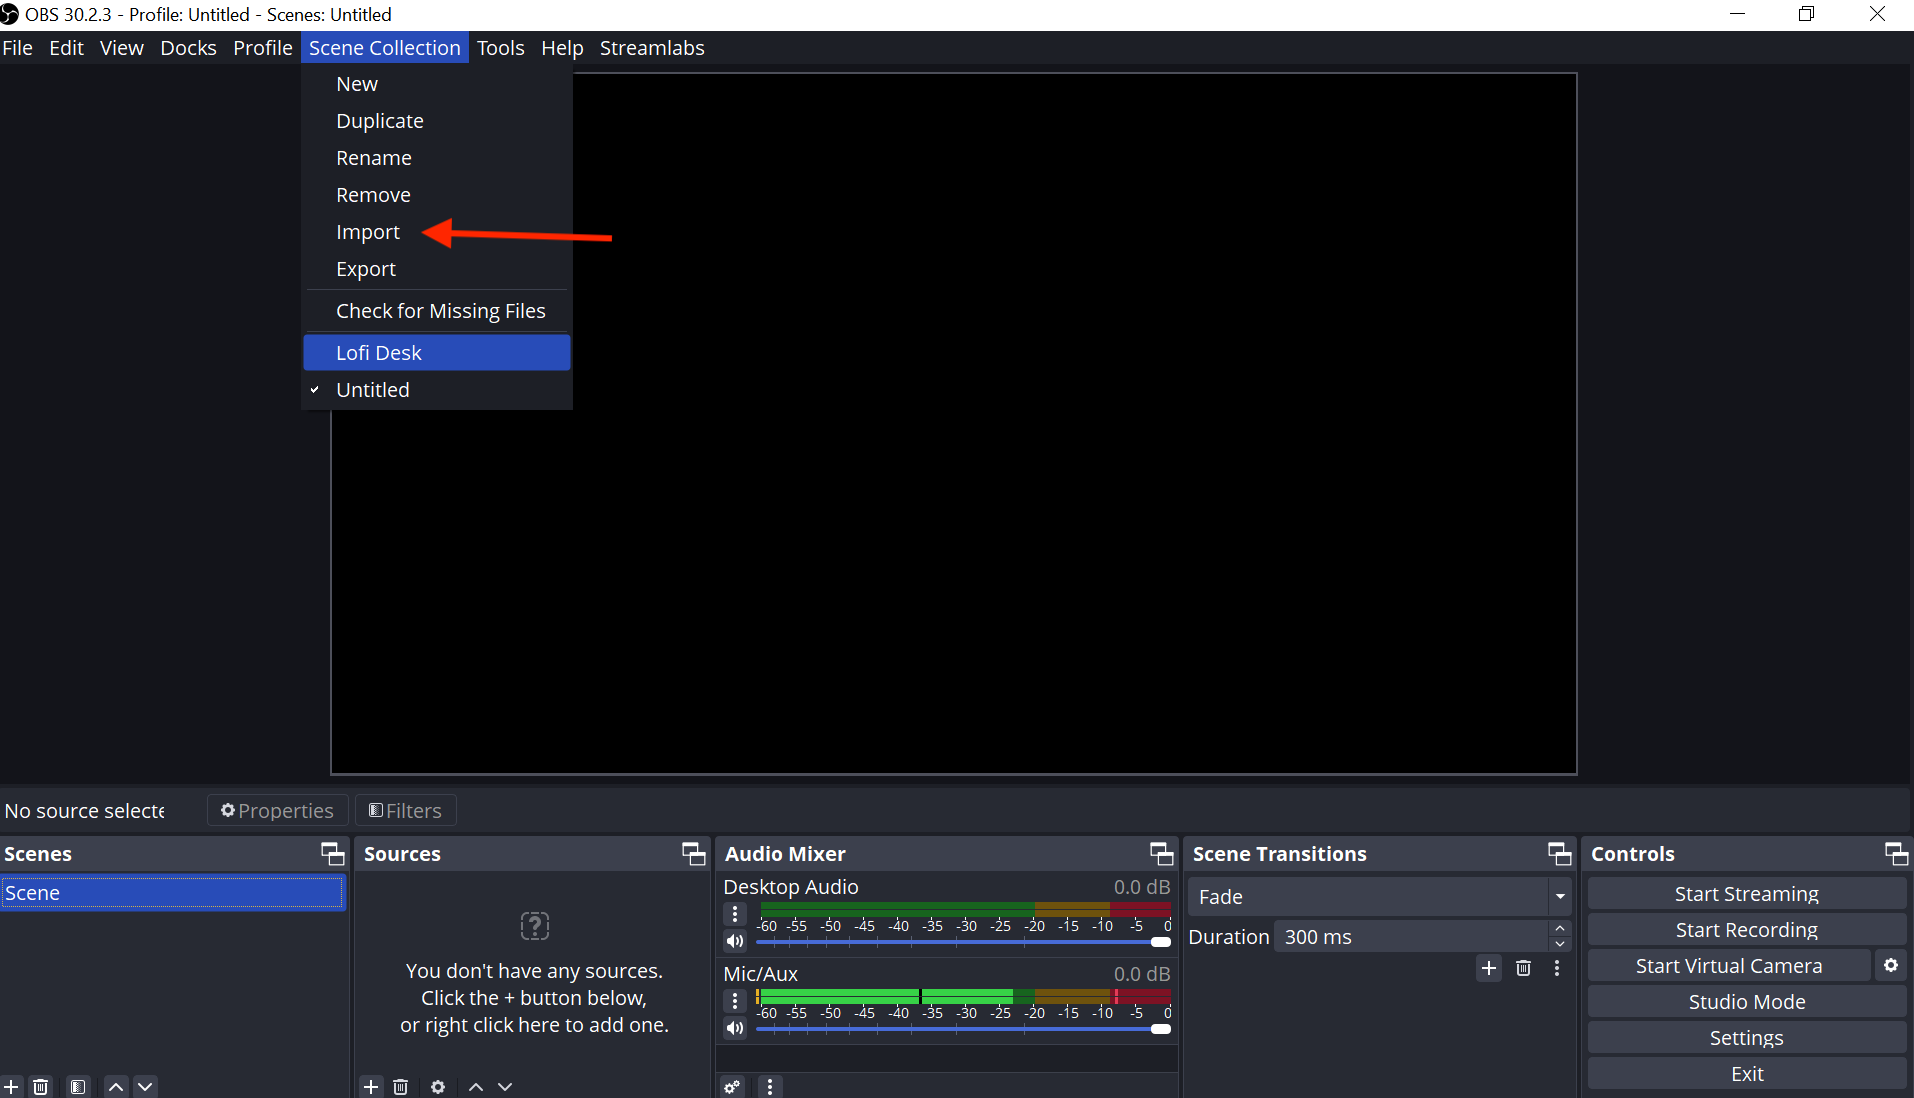
First, save your scenes to a safe location. Open Streamlabs and navigate to the settings menu. Look for the “Scene Collections” tab. Here, you can export your scenes. Save the file to an external drive or cloud storage. This backup will be used to import your scenes on the new computer.
Checking Software Versions
Before transferring, check the Streamlabs version on both computers. Both should have the same version to avoid compatibility issues. Update Streamlabs if needed. Go to the Streamlabs website or use the built-in updater.
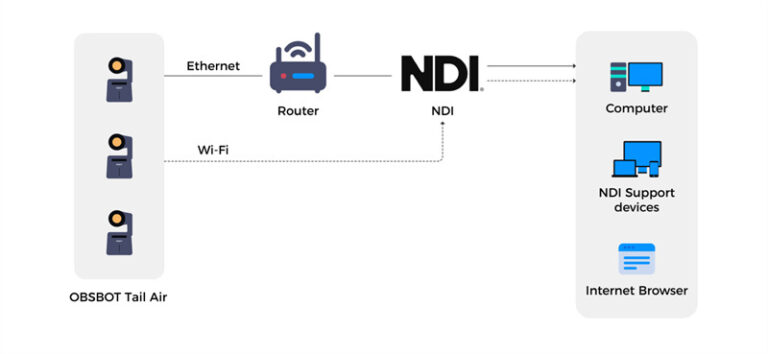
.png)
Credit: docs.elgato.com
Exporting Scenes
Exporting scenes in Streamlabs is crucial when you want to move your settings to another computer. It allows you to retain all your customizations without starting from scratch. This process involves locating the scene files and then exporting them properly.
Locating Scene Files
First, you need to find the scene files on your computer. Open Streamlabs and go to the settings menu. Look for the section labeled “Scene Collections.” Here, you will see a list of all your scenes. Note the location where these files are saved.
Usually, the scene files are stored in the Streamlabs directory within your user folder. You can also check the application data folder. Remember, knowing the exact location is essential for a smooth export process.
Export Process
Once you have located the scene files, the next step is exporting them. Go back to the “Scene Collections” tab in the settings menu. You will see an option to “Export” your scenes. Click on this option.
A dialog box will appear asking you where to save the export file. Choose a convenient location on your computer. Make sure it’s easy to find later. Click “Save” to complete the export.
The exported file will have all your scenes and settings. You can now transfer this file to another computer and import it into Streamlabs. This ensures your streaming setup remains consistent across different devices.
Transferring Files
Easily transfer your Streamlabs scenes to another computer by exporting and importing your scene collections. This ensures a smooth transition without losing your customized settings.
Transferring files is an essential part of moving your Streamlabs scenes to another computer. Understanding how to efficiently transfer files can save you time and frustration. Whether you’re using external drives or cloud storage options, transferring your scenes doesn’t have to be complicated.Using External Drives
Using external drives is a straightforward method. Connect an external hard drive or USB drive to your computer. Copy your Streamlabs scenes and configurations to the drive. Transfer the drive to your new computer. Paste the copied files into the appropriate Streamlabs folders. This method is reliable and doesn’t require internet access.Cloud Storage Options
Cloud storage offers flexibility. Services like Google Drive, Dropbox, and OneDrive are popular choices. Upload your Streamlabs scenes to your preferred cloud storage. On your new computer, download the files from the cloud. Place them in the correct Streamlabs directories. This method is convenient for remote access and sharing. Have you ever tried both methods? Which one worked better for you? Remember, the right approach depends on your specific needs and resources.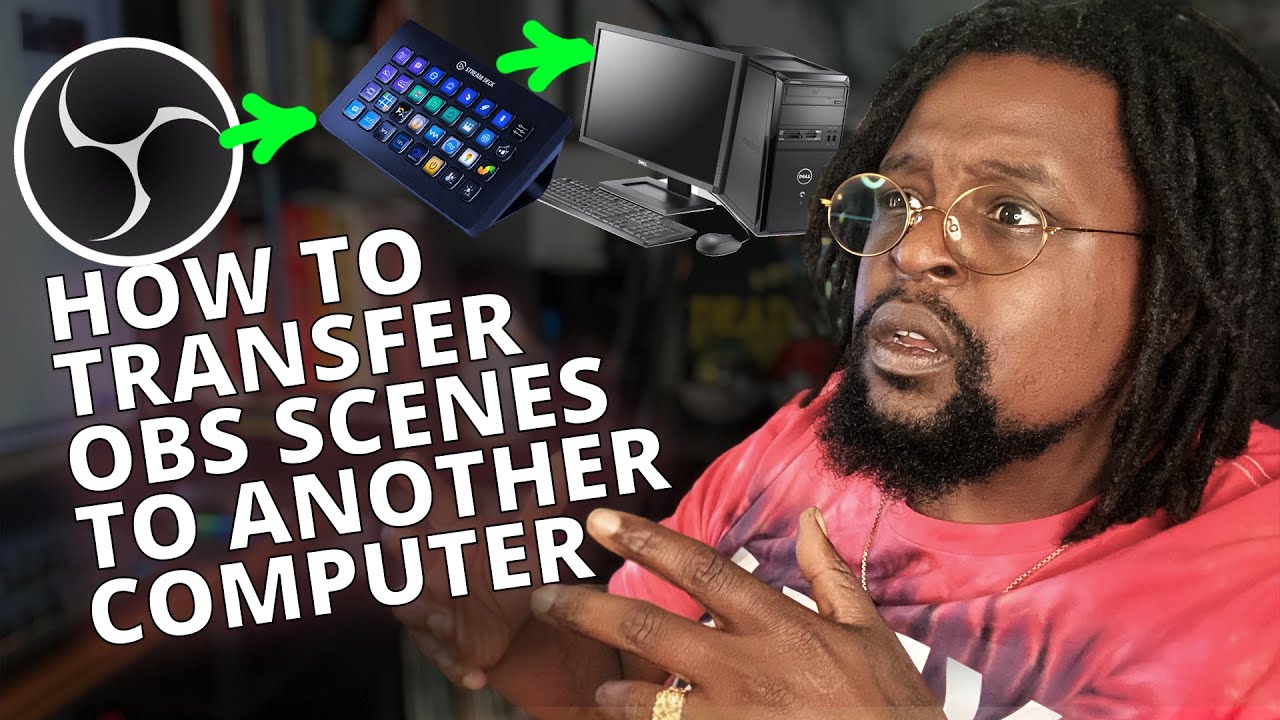
Credit: www.youtube.com
Importing Scenes
Importing scenes in Streamlabs from one computer to another can seem complex. But, with a clear guide, it becomes an easy task. This section will guide you through importing your scenes. Follow these steps to ensure a smooth transfer.
Import Process
First, export your scenes from the original computer. Open Streamlabs and go to ‘Settings’. Click on ‘Scene Collections’. Select ‘Export’. Save the file to a USB drive or cloud storage.
On the new computer, open Streamlabs. Go to ‘Settings’. Click on ‘Scene Collections’. Select ‘Import’. Find the file you saved. Click ‘Open’. Your scenes will now appear in Streamlabs.
Verifying Scene Integrity
After importing, check if the scenes work correctly. Open each scene. Ensure all sources are present. Check if the overlays appear as expected. Test any media files. Ensure the audio sources work. Confirm the transitions are smooth.
If any issues arise, recheck the original export. Ensure no files are missing. Import the scenes again if needed. This ensures your stream runs smoothly on the new computer.
Troubleshooting Common Issues
When transferring Streamlabs scenes to another computer, you might encounter some common issues. These issues can be frustrating, but don’t worry, they are usually easy to fix. Let’s dive into some troubleshooting tips to get you back on track.
File Compatibility
One of the first things to check is file compatibility. Are your Streamlabs files saved in a format that the new computer can read? Ensure that both computers are running the same version of Streamlabs.
If you’re switching between different operating systems, this can also cause compatibility issues. For example, moving from a Windows PC to a Mac might require extra steps to ensure the files work correctly.
Make sure you have the latest software updates. Sometimes, simply updating Streamlabs can resolve compatibility issues.
Missing Assets
Another common issue is missing assets. When you transfer scenes, all the images, videos, and other media need to be in the same location on the new computer.
Double-check the paths for your assets. If Streamlabs can’t find the assets, it won’t display them correctly. Organize all your files in a dedicated folder before transferring to make this easier.
Consider using an external hard drive or cloud storage. This way, you can ensure all your assets are transferred together, minimizing the risk of missing files.
Have you ever had a critical asset go missing right before a stream? It’s a nightmare! Keeping a backup of all your assets can save you from last-minute panic.
If you’re still having trouble, you might need to manually re-link the assets in Streamlabs. It’s a bit of a hassle, but it ensures everything is where it should be.
What other issues have you faced while transferring Streamlabs scenes? Share your experiences and solutions in the comments below. Your tips might just help someone else out!
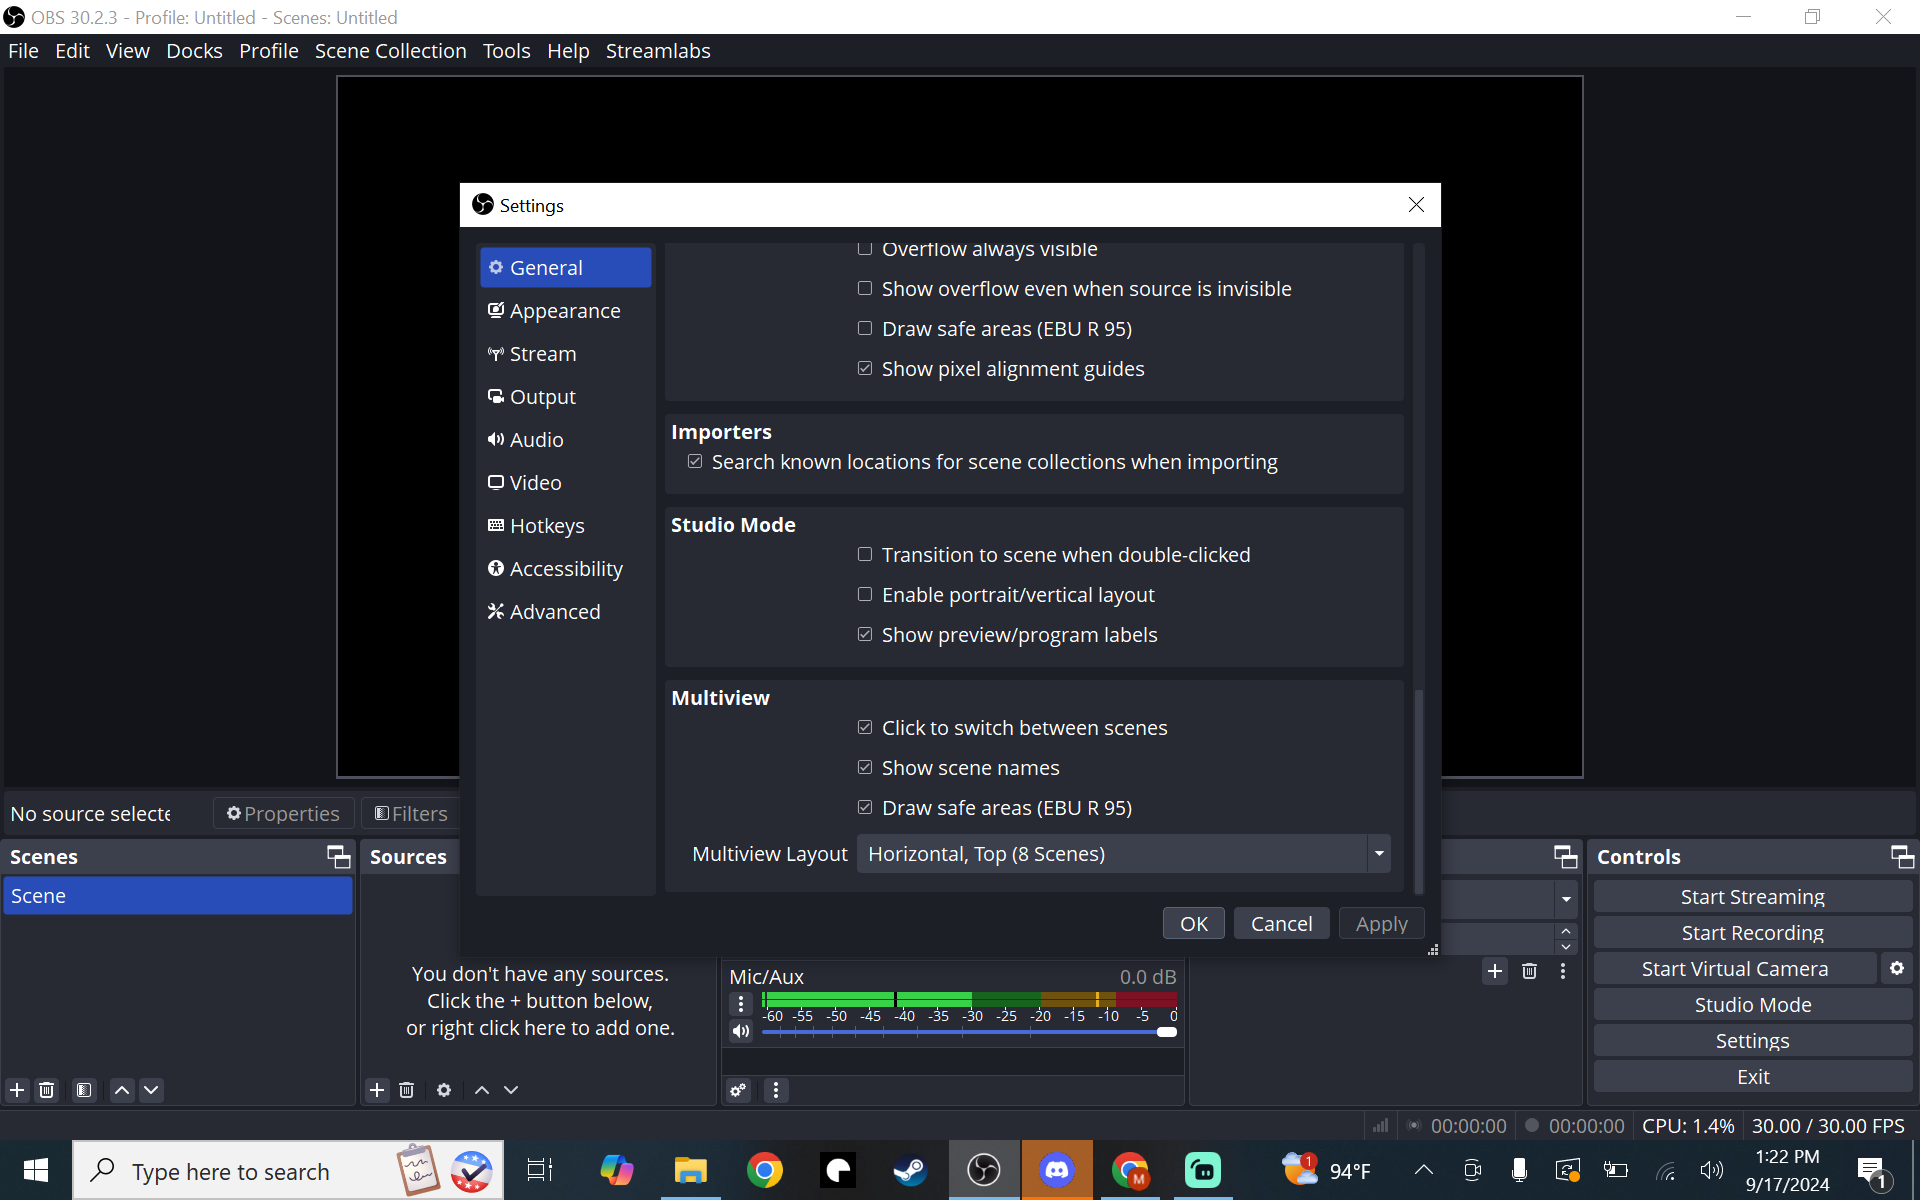
Credit: streamlabs.com
Optimizing Performance
Transfer Streamlabs scenes easily to another computer. First, export your scenes as a JSON file. Then, import the file on the new system.
Transferring your Streamlabs scenes to another computer can be a game-changer for your streaming experience. To ensure everything runs smoothly and efficiently, optimizing performance is key. This involves a few critical steps that, when done right, can make your streaming setup as robust as possible on the new machine.Adjusting Settings
After transferring your scenes, the first thing you should do is adjust your settings. Streamlabs offers various options to tweak performance, from bitrate to resolution. Take some time to match these settings to the capabilities of your new computer. If your new machine is more powerful, you might want to increase your bitrate for better quality. Conversely, if it’s less powerful, reducing these settings can help maintain a smooth stream.Testing Scenes
Now that your settings are adjusted, it’s crucial to test your scenes. Open Streamlabs and go through each scene you transferred. Check for any missing elements or errors. Make sure that all your sources, such as webcams, overlays, and alerts, are functioning correctly. Run a private stream to see how everything looks and performs. This step is essential to catch any issues before going live in front of your audience. Testing ensures a seamless transition and helps maintain the quality of your streams. How often do you test your setup before going live? Frequent testing can save you from unexpected glitches and keep your viewers happy. Taking these steps can make a significant difference in your streaming performance. Whether you’re a veteran or a newbie, optimizing your Streamlabs setup for a new computer will enhance your overall streaming experience.Frequently Asked Questions
How Do I Export Scenes From Streamlabs?
To export scenes from Streamlabs, click on “Settings” then “Scene Collections” and select “Export”. Save the file.
How To Import A Scene In Streamlabs?
Open Streamlabs, click the “Scenes” tab, select “Import Scene”, choose your file, and click “Open”. Adjust settings as needed.
Can You Use Streamlabs On Two Computers?
Yes, you can use Streamlabs on two computers. Install Streamlabs on both devices and log in with the same account.
How Do I Copy A Streamlabs Scene To Another Collection?
To copy a Streamlabs scene to another collection, right-click the scene, select “Copy,” switch to the target collection, and paste it.
Conclusion
Transferring Streamlabs scenes to another computer is simple. Follow the steps outlined. Save your scenes, export the file, and import it on the new device. This method ensures a smooth transition. Your streaming setup will remain consistent. With practice, it becomes second nature.
Keep your scenes backed up regularly. Enjoy a hassle-free streaming experience. Happy streaming!