How to Connect OBS to Restream: Ultimate Streaming Guide
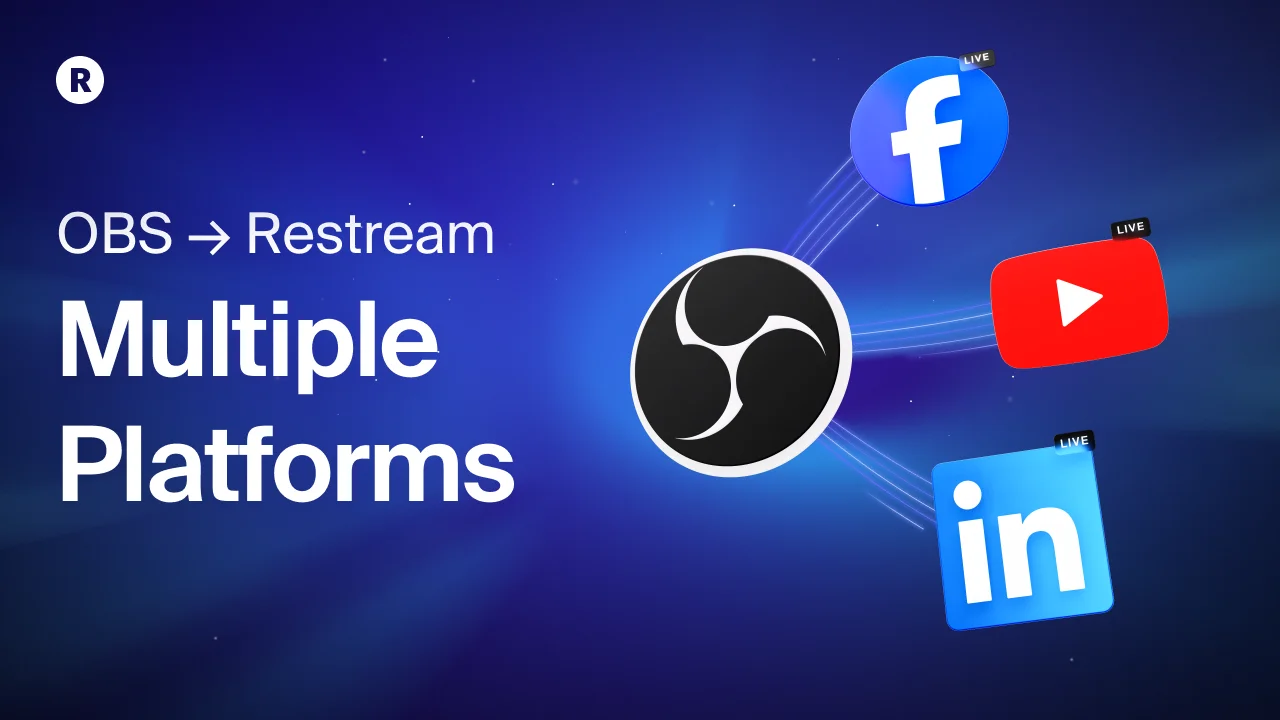
Connecting OBS to Restream is easy and essential for live streaming. It allows you to broadcast to multiple platforms at once.
This guide will help you set it up smoothly. Live streaming has become a vital tool for content creators. Using OBS (Open Broadcaster Software) with Restream can enhance your streaming experience. OBS is a free software that helps you create professional live streams.
Restream allows you to stream to various platforms simultaneously. Combining these two tools can save time and effort. This guide will explain the steps to connect OBS to Restream. You don’t need to be a tech expert to follow along. By the end, you’ll be ready to broadcast your content effortlessly. Let’s get started!
Introduction To Streaming
Streaming has become an integral part of the digital landscape. Whether you’re sharing your gaming skills, hosting live webinars, or broadcasting events, streaming connects you with your audience in real-time. It’s a powerful tool for engagement and interaction.
Importance Of Streaming
Streaming allows you to reach a global audience instantly. You can share your content live, without delays, making your interactions more genuine and impactful. Think about the excitement of live sports events or breaking news—streaming brings that immediacy to your own broadcasts.
It also provides a platform for real-time feedback. Viewers can comment and ask questions as they watch, creating a dynamic and interactive experience. This can be especially beneficial for creators who thrive on audience engagement.
Moreover, streaming can enhance your brand visibility. By consistently sharing live content, you build a loyal following and establish a stronger online presence. This can lead to increased opportunities and growth for your channel or business.
Overview Of Obs And Restream
OBS, or Open Broadcaster Software, is a free and open-source tool for video recording and live streaming. It’s popular for its versatility and customization options. With OBS, you can create professional-quality streams with multiple sources, scenes, and transitions.
Restream, on the other hand, is a service that allows you to broadcast your live content to multiple platforms simultaneously. Imagine streaming to YouTube, Facebook, and Twitch all at once—Restream makes this possible, expanding your reach and audience.
Using OBS with Restream is straightforward. You set up your scenes and sources in OBS, then connect OBS to Restream using a stream key. This way, your live content is distributed across various platforms effortlessly.
Connecting OBS to Restream maximizes your streaming potential. You save time by not having to manage multiple platforms individually, and you can engage with diverse audiences from one place.
Have you ever wondered how your content could reach more people without extra effort? By combining OBS and Restream, you leverage powerful tools to amplify your streaming experience.
Setting Up Obs
Easily connect OBS to Restream by first opening OBS and selecting “Settings. ” Navigate to the “Stream” tab and choose “Restream. io” as the service. Copy your Restream stream key and paste it into OBS. Your live stream is now ready to go.
Setting Up OBS Getting started with OBS (Open Broadcaster Software) can seem daunting, but it’s simpler than you might think. Whether you’re a beginner or a seasoned streamer, setting up OBS correctly is crucial for a smooth streaming experience. Let’s break it down step-by-step.Downloading Obs
First things first, you need to download OBS. Head over to the official OBS website. You’ll find download options for Windows, Mac, and Linux. Choose the version that suits your operating system. Click the download button and follow the on-screen instructions. Once the download is complete, open the installer and proceed with the installation. It’s straightforward and should only take a few minutes.Configuring Obs Settings
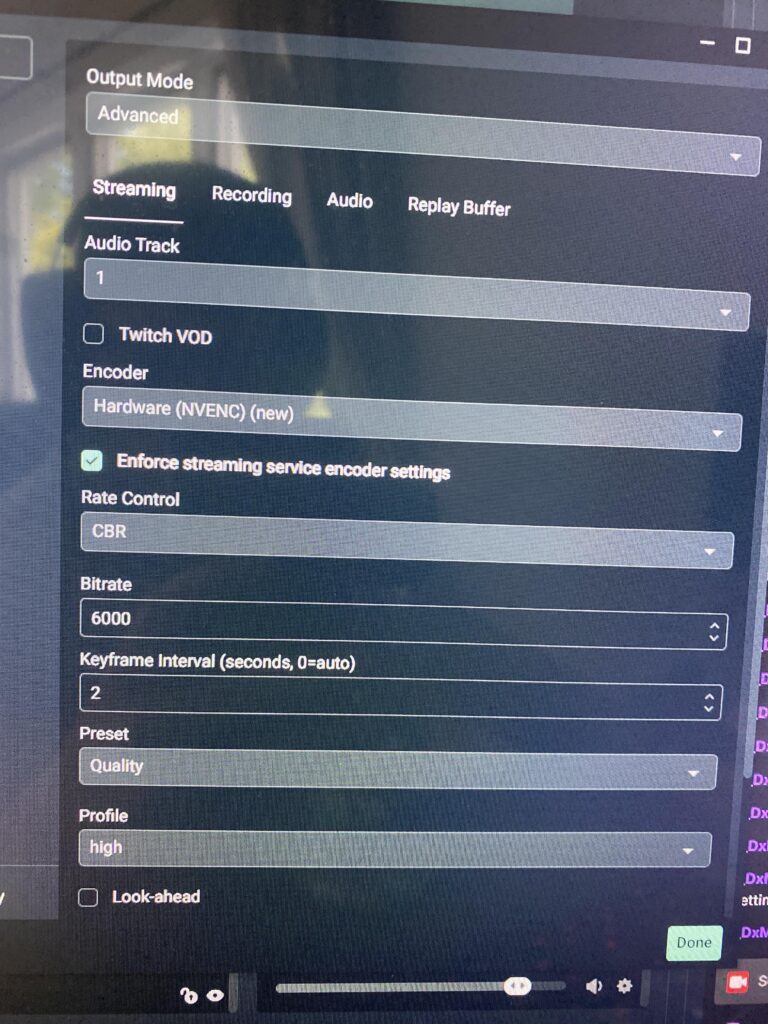
After installing OBS, launch the application. You’ll be greeted with a simple interface that might look overwhelming at first. Start by configuring the basic settings. Click on “Settings” in the lower right corner. In the “General” tab, set your preferred language and theme. Next, go to the “Stream” tab. Here, you’ll connect OBS to Restream. Select “Restream.io” from the service dropdown menu and enter your stream key. This key is available on your Restream dashboard. Now, head over to the “Output” tab. Set the video bitrate to a value that matches your internet speed. A good starting point is 2500 kbps for standard quality. Adjust the audio bitrate to 128 kbps for clear sound. Finally, configure your video settings. In the “Video” tab, set the Base (Canvas) Resolution to match your screen resolution. Adjust the Output (Scaled) Resolution based on your streaming needs, typically 720p or 1080p. Set the FPS (frames per second) to 30 or 60, depending on your preference. By following these steps, you’ll have OBS set up and ready to connect to Restream. Do you have any tips or tricks that have worked well for you? Share in the comments!Creating A Restream Account
Creating a Restream account enables seamless live streaming across multiple platforms. Connect OBS to Restream by entering your stream key and selecting your preferred platforms. This setup simplifies broadcasting to a larger audience.
Creating a Restream Account Creating a Restream account is your first step in connecting OBS to Restream and going live across multiple platforms. This process is simple and straightforward, ensuring you’re set up and ready to stream quickly. Let’s dive into the details of signing up and choosing a plan that fits your needs.Signing Up On Restream
To get started, head over to the Restream website. Look for the sign-up button, which is usually prominently displayed on the homepage. Click on it to begin creating your account. You can sign up using your email address, or you can use your Google, Facebook, or Twitch account for quicker access. Choose the option that works best for you. Once you’ve entered your details, you’ll receive a confirmation email. Click on the link in the email to verify your account. This step ensures your account is secure and ready to use.Choosing A Plan
Restream offers several plans to cater to different streaming needs. If you’re just starting, the free plan might be perfect. It allows you to stream to multiple platforms simultaneously without any cost. For more advanced features, such as removing Restream’s watermark or accessing detailed analytics, consider a paid plan. These plans vary in price and features, so review what each one offers. Think about your streaming goals and your budget. A paid plan might be a worthwhile investment if you’re looking to grow your audience and need professional tools. Creating a Restream account and choosing the right plan sets the foundation for a successful streaming experience. What’s your streaming goal? Are you ready to take your live streams to the next level?Connecting Obs To Restream
Connecting OBS to Restream can help you stream to multiple platforms. This guide will walk you through the process. You will be streaming in no time.
Retrieving Stream Key
First, log in to your Restream account. Navigate to your dashboard. Find the stream key section. It is usually under the settings tab. Copy the stream key.
Entering Stream Key In Obs
Open OBS Studio. Go to the settings menu. Click on the “Stream” tab. Choose Restream from the service dropdown menu. Paste the stream key you copied. Click “Apply” and then “OK”.
Now, start streaming. OBS will send your stream to Restream. Restream will broadcast it to multiple platforms. You are now live on various channels.
Customizing Your Stream
Customizing your stream is a crucial step in making your content stand out. When using OBS with Restream, you have a plethora of options to tweak and fine-tune your stream. This will ensure that it reflects your unique style and captivates your audience.
Adding Overlays
Overlays are the visual elements that frame your content. They can include borders, alerts, and widgets that add a professional touch to your stream.
Start by selecting an overlay that matches your brand. You can find free and paid overlays online, or create your own if you’re skilled with graphic design. Once you have your overlay, add it to OBS by going to the “Sources” panel and clicking the “+” button. Choose “Image” or “Browser” source, depending on the type of overlay.
Position the overlay by dragging it around in the preview window. Make sure it doesn’t cover important parts of your stream. Test it out to see how it looks in action. Don’t be afraid to experiment with different overlays until you find the perfect fit.
Configuring Audio And Video
Great audio and video quality can make or break your stream. Ensuring your viewers have a seamless experience is vital.
First, check your video settings in OBS. Go to “Settings” and then “Video”. Adjust your base and output resolution to match your streaming platform’s requirements. A common resolution is 1920×1080, but this might vary depending on your internet speed and hardware capabilities.
Next, configure your audio. Go to “Settings” and then “Audio”. Set your microphone and desktop audio sources. Use noise suppression and gain filters to improve audio quality. You can add these by right-clicking on your audio source and selecting “Filters”.
Don’t forget to test your audio levels. Make sure your voice is clear and not overshadowed by background music or game sounds. Ask a friend to listen to a test stream and provide feedback. This ensures your stream sounds great from the viewer’s perspective.
Customizing your stream might seem daunting at first, but it’s also a fun process. What unique elements will you add to make your stream stand out? Share your thoughts in the comments!
Credit: www.youtube.com
Testing Your Stream
Testing your stream before going live is crucial. This ensures that everything works smoothly. It helps you avoid technical issues during your actual broadcast. In this section, we will guide you on how to test your stream effectively.
Running Test Streams
Start by creating a test stream. Open OBS and Restream. Set up your scenes and sources as you would for a live stream. Choose a private or unlisted setting on your streaming platform. This way, only you can see the test stream.
Click the “Start Streaming” button in OBS. Watch the stream on your platform. Check video and audio quality. Make sure there are no lags or delays. Test different scenes and transitions. Ensure everything looks and sounds good.
Troubleshooting Common Issues
Sometimes, issues may arise. Don’t panic. Common problems include low video quality, audio sync issues, or stream lag. First, check your internet connection. A stable connection is crucial for streaming.
Next, review your OBS settings. Ensure your bitrate is set correctly. Check your audio settings in OBS. Ensure your microphone and desktop audio are working. If there are sync issues, adjust the audio delay settings in OBS.
If the video quality is poor, lower your output resolution. High resolutions need more bandwidth. Try streaming at 720p instead of 1080p. This can improve performance.
If issues persist, consult the OBS and Restream forums. Many users face similar issues. You may find solutions from other streamers. Be patient and keep testing until everything works perfectly.
Going Live
Going live can be one of the most exciting parts of broadcasting. It’s where all your preparation pays off and you get to interact with your audience in real-time. Connecting OBS to Restream is just the start; going live effectively requires a few more steps.
Starting The Stream
Before you hit the “Start Streaming” button, ensure that all your settings are optimized. Double-check your video and audio sources in OBS. Make sure your internet connection is stable and that Restream is connected to all your desired platforms.
Once everything looks good, you can start the stream. In OBS, click on the “Start Streaming” button. OBS will send the stream to Restream, which will then broadcast it to all your connected platforms.
Engaging With Your Audience
Engagement is key to a successful live stream. Keep an eye on the chat and respond to viewers in real-time. This makes your audience feel valued and encourages them to stay and interact more.
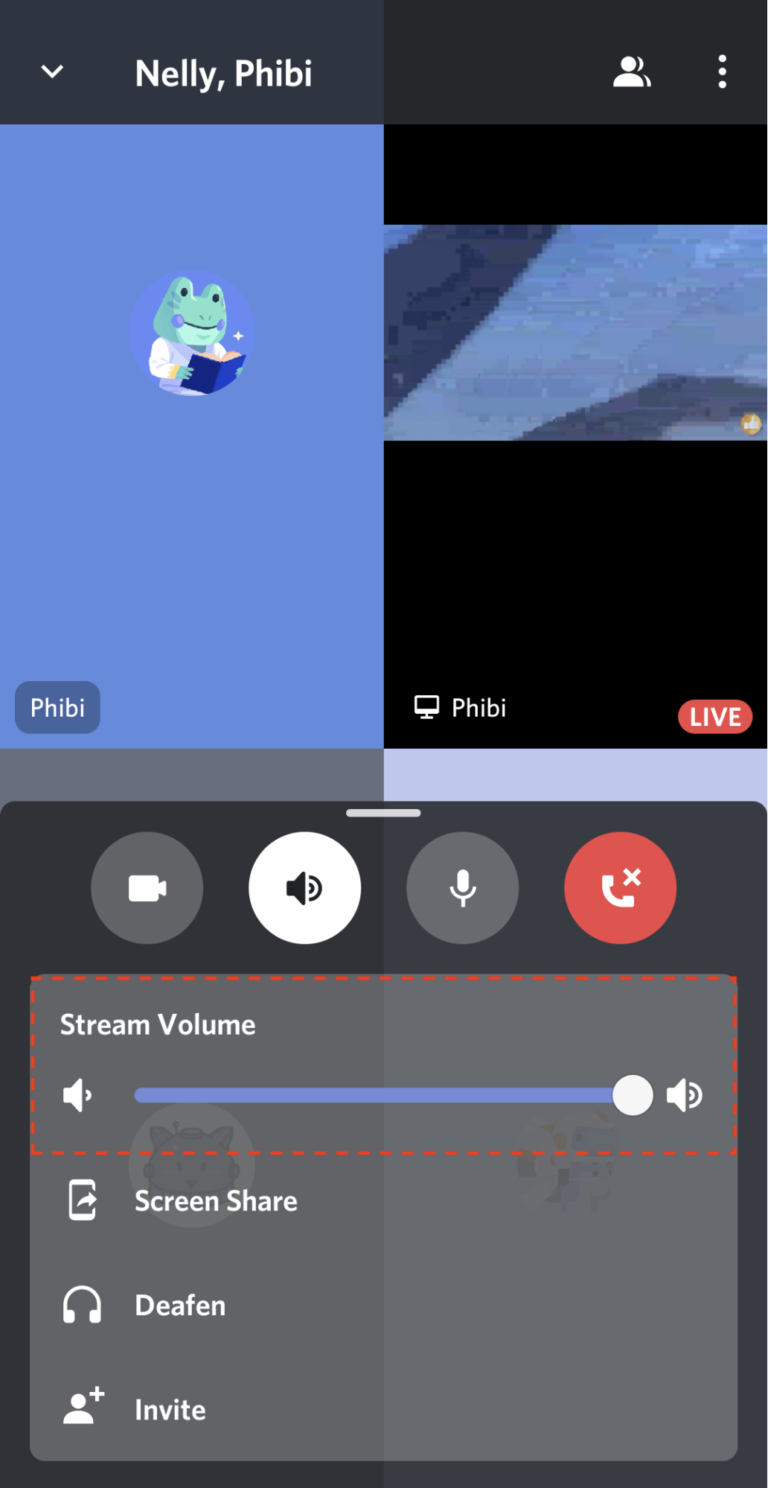
Use the Restream chat feature to see comments from all your platforms in one place. This tool is incredibly useful for ensuring you don’t miss any messages. Make your audience feel heard and appreciated.
Ask questions during the stream to engage your viewers. For example, “What topics would you like me to cover next?” This not only helps you understand your audience better but also keeps the conversation flowing.
Credit: support.restream.io
Advanced Tips
Connecting OBS to Restream can be simple. For those who want to take it further, advanced tips can make a big difference. Here are some ideas to enhance your streaming experience.
Using Obs Plugins
OBS plugins add more features to your setup. They can improve your stream’s quality. For example, you can use the Advanced Scene Switcher plugin. It helps automate scene changes based on various triggers.
Another useful plugin is the OBS WebSocket. It allows you to control OBS remotely. This can be handy if you need to manage your stream while on the go.
Consider the OBS Virtualcam plugin. It lets you use OBS as a video source in other apps. These plugins can make your streaming setup more versatile.
Optimizing Stream Performance
Performance is key to a smooth stream. First, check your internet speed. A stable connection is important. You can use online tools to test your speed.
Next, adjust your OBS settings. Lowering the resolution can help if you face lag. Try different settings to see what works best for you. A good balance between quality and performance is essential.
Keep an eye on your computer’s performance. Close any unnecessary programs. This frees up resources for your stream. Monitoring your CPU usage can help you avoid issues.
Finally, use Restream’s analytics. They offer insights into your stream’s performance. Use this data to make adjustments and improve your future streams.

Credit: wpstream.net
Frequently Asked Questions
How Do I Connect My Obs To Live Stream?
To connect OBS to live stream, go to Settings, select Stream, choose your platform, and enter your stream key.
How To Cross Stream On Obs?
To cross stream on OBS, open OBS Studio, select “Settings,” navigate to “Stream,” choose your platform, and enter stream key. Click “Start Streaming. “
How To Use Rtmp In Obs?
To use RTMP in OBS, open OBS, go to Settings, select Stream, choose Custom, and enter your RTMP server URL and Stream Key. Click Apply and then OK. Start streaming by clicking Start Streaming.
How Do I Connect Stream Chat To Obs?
To connect Stream chat to OBS, use a browser source. Copy your chat URL from Stream, then paste it into OBS’s browser source settings. Adjust the width and height as needed.
Conclusion
Connecting OBS to Restream is simple and effective. Start by setting up your Restream account. Then, configure OBS with your Restream stream key. Always test your stream for quality. This ensures everything runs smoothly. Consistent practice will improve your streaming experience.
Remember to check for updates regularly. Happy streaming!