How to Record Streaming TV: Ultimate Guide for Beginners
Recording streaming TV is easier than you think. With the right tools, you can save your favorite shows and watch them anytime.
Streaming TV has changed how we watch our favorite programs. Services like Netflix, Hulu, and Amazon Prime offer endless choices. But what if you miss an episode or want to save a movie for later? Recording streaming TV is a great solution.
Whether you use a DVR, software, or apps, there are many ways to capture live or on-demand content. This guide will show you how to record streaming TV so you never miss out. Keep reading to learn the best methods to keep your favorite shows at your fingertips.

Credit: recorder.itopvpn.com
Introduction To Streaming Tv
Streaming TV has become a household staple. It offers endless entertainment options. You can watch shows, movies, and live events whenever you want.
Let’s dive into what makes streaming TV so popular.
What Is Streaming Tv?
Streaming TV allows you to watch content over the internet. No need for cable or satellite subscriptions.
Services like Netflix, Hulu, and Disney+ provide a vast library of shows and movies. You can access them on various devices like smartphones, tablets, and smart TVs.
Have you ever binged an entire season in one weekend? Streaming TV makes that possible.
Benefits Of Streaming Tv
Streaming TV offers flexibility. You watch what you want, when you want. No more waiting for your favorite show to air.
It also tends to be more affordable. Many streaming services offer monthly subscriptions, often cheaper than traditional cable.
Plus, you can avoid commercials. Many services provide ad-free viewing options.
Have you tried recording live events or shows? With streaming TV, it’s easier than ever.
Consider this: What could you do with all the extra time saved from not watching ads?
Credit: recorder.easeus.com
Essential Equipment
To record streaming TV, you need essential equipment like a reliable DVR, high-speed internet, and a compatible streaming device. These tools ensure smooth recording and playback.
Recording streaming TV can seem daunting, but with the right equipment, it becomes straightforward. Knowing what you need is the first step toward capturing your favorite shows and movies. Let’s break down the essential equipment to ensure your setup is seamless and efficient.Devices Needed
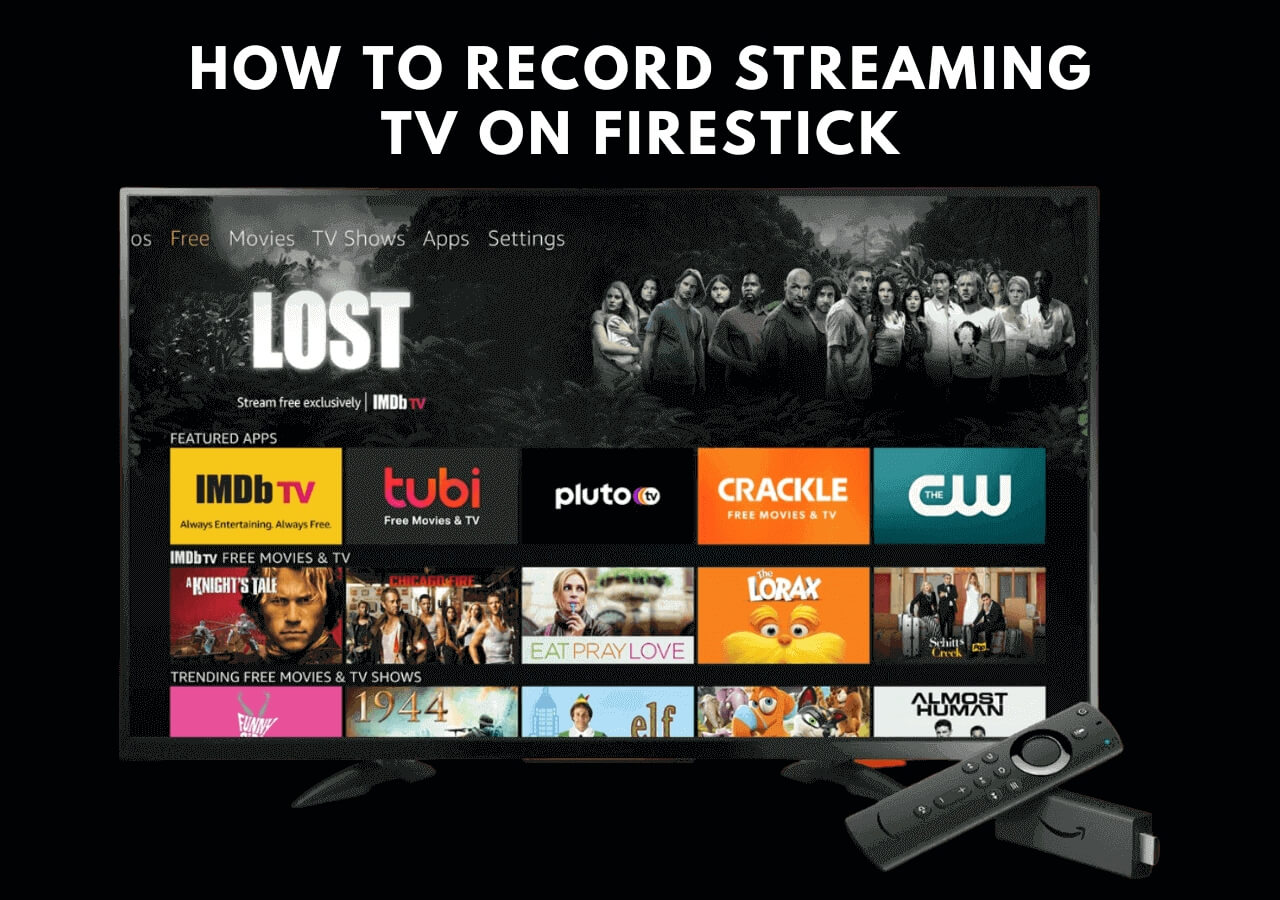
To start recording streaming TV, you’ll need a few key devices. A robust internet connection is crucial. It ensures smooth streaming and recording without interruptions. Next, consider investing in a quality streaming media player. Options like Roku, Amazon Fire Stick, or Apple TV are popular. They offer excellent compatibility with various streaming services. Lastly, a reliable DVR (Digital Video Recorder) or a computer with recording software is essential. Devices like TiVo, or using software like PlayOn, can help you capture and store your favorite content.Choosing The Right Device
Choosing the right device can make a huge difference in your recording experience. Think about your current streaming habits. Are you using multiple services like Netflix, Hulu, and Disney+? If so, opt for a device that supports all these platforms. For example, the Amazon Fire Stick is versatile and user-friendly. Also, consider the ease of use. If you’re tech-savvy, you might enjoy the customization options of a more advanced device. But if you prefer simplicity, go for a more straightforward option. Budget is another factor. You don’t need to break the bank to get good quality. There are affordable options that offer great performance. What devices do you find indispensable for recording streaming TV? Your insights might help someone else make the best choice.Setting Up Your Equipment
Setting up your equipment to record streaming TV is the first step. You need to ensure everything is connected and configured correctly. This section will guide you through the setup process.
Connecting Your Device
First, connect your recording device to your TV. This can be a DVR, a computer, or an external hard drive. Use the appropriate cables. HDMI cables are commonly used for high-quality video and audio. Make sure the cables are securely attached to both the TV and the recording device.
If you are using a computer, connect it to the TV via HDMI. Ensure your computer recognizes the TV as a display. You may need to adjust the display settings on your computer. This ensures everything is ready for recording.
Configuring Your Settings
Once your device is connected, you need to configure the settings. Turn on your TV and recording device. Navigate to the settings menu on your recording device. Look for options related to video and audio quality. Choose the highest quality available for the best recording experience.
Next, set the recording parameters. This includes choosing the recording duration and storage location. Ensure there is enough space on your recording device. You don’t want to run out of space mid-recording.
Finally, test your setup. Record a short clip and play it back. Check the video and audio quality. If everything looks good, you are ready to start recording your favorite streaming TV shows.
Credit: recorder.easeus.com
Choosing The Right Software
Choosing the right software to record streaming TV can be a game changer. With the right tool, you can easily save your favorite shows and watch them whenever you want. But with so many options out there, how do you know which one to pick?
Top Recording Software
When it comes to top recording software, a few names stand out. OBS Studio is a popular choice for its versatility and free access. It supports various formats and is compatible with both Windows and Mac.
If you are looking for something user-friendly, consider using PlayOn. It’s designed for simplicity and works with a wide range of streaming services. It’s perfect if you want a hassle-free experience.
Another excellent option is Wondershare UniConverter. It offers high-quality recordings and additional features like video editing. It’s a bit more advanced, but the extra tools can be worth it.
Free Vs Paid Options
Deciding between free and paid software can be tricky. Free options like OBS Studio offer robust features without costing a dime. They are perfect if you’re just getting started or on a tight budget.
However, paid options like PlayOn and Wondershare UniConverter come with added benefits. They often provide better customer support and additional features, making them worth the investment for regular users.
Think about your needs and how often you’ll use the software. If it’s a one-time thing, a free option might suffice. But if you plan to record regularly, investing in a paid version could save you time and offer a better experience.
Have you ever been stuck trying to record a show and missed out because the software failed? Choosing the right tool can prevent these frustrations. What do you value more: cost-effectiveness or premium features? Your answer will guide you in making the right choice.
Recording Live Tv
Recording live TV has become easier and more convenient than ever. Whether you want to save your favorite show for later or ensure you don’t miss a live event, there are several ways to record live TV. The key is understanding the different methods available and choosing the one that best suits your needs.
Scheduling Recordings
Scheduling recordings can save you a lot of time and hassle. Most modern DVRs and streaming services offer this feature. You can set it up to record your favorite show every week or catch a special event that you might forget about.
Take advantage of the “series recording” feature if your device has one. This ensures you don’t miss any episode of your favorite series. Simply navigate to the show in the TV guide, select the series recording option, and you’re set.
Do you have a busy schedule? Set up your recordings in advance. You can usually schedule recordings days or even weeks ahead. This way, you won’t have to worry about forgetting.
Recording In Real-time
Recording in real-time is perfect for live events like sports games or award shows. You can start the recording as the event begins. This way, you can watch it later without knowing the outcome beforehand.
Have you ever found yourself halfway through a show and realized you want to record it? Many DVRs and streaming services allow you to start recording from any point in the live broadcast. Just hit the record button, and it will save the rest of the show for you.
Don’t forget to check your storage space. Real-time recordings can take up a lot of storage, especially if you’re recording in high definition. Make sure you have enough space or consider deleting old recordings you no longer need.
Are you ready to start recording live TV? What shows or events are you looking forward to saving for later? Let us know in the comments!
Managing Your Recordings
Efficiently recording streaming TV ensures you never miss your favorite shows. Choose reliable software for seamless recording and organize files for easy access. Keep your recordings well-managed for uninterrupted entertainment.
Managing your recordings can make a world of difference in your streaming TV experience. A well-organized library ensures you never lose track of your favorite shows and movies. Plus, it’s always nice to know exactly where everything is when you’re ready to watch.Storing Recordings
Storing your recordings effectively is crucial. Use external hard drives or cloud storage to save space on your device. This way, you won’t run out of storage and can keep adding new shows without any hassle. Backup your recordings regularly. This prevents data loss if something happens to your primary storage. It’s always better to be safe than sorry. Consider the format of your recordings. MP4 is a popular choice due to its compatibility with most devices. Having your recordings in a versatile format ensures you can watch them anywhere, anytime.Organizing Your Library
Organizing your library is just as important as storing your recordings. Create folders for different genres or series. This helps you locate what you want to watch quickly. Label your recordings clearly. Adding the name of the show, season, and episode number makes it easier to find specific episodes. It also keeps your library neat and tidy. Use a media management tool. These tools can help you keep track of what you’ve watched and what’s pending. They can also suggest new shows based on your viewing history. How do you keep your recordings organized? Share your tips in the comments below!Playback Options
When you’ve successfully recorded your favorite streaming TV shows, the next step is figuring out how to play them back. This process can be straightforward or as complex as you want it to be, depending on your tech setup and preferences. Let’s dive into some practical playback options that will make your viewing experience seamless and enjoyable.
Watching Recorded Content
Once you’ve recorded your content, you’ll need to know how to watch it. Most streaming devices come with built-in media players that support playback. Simply navigate to your recordings section, select the show or movie you want to watch, and hit play. It’s that easy!
If you’re using a DVR (Digital Video Recorder), you might have additional features like fast-forwarding through commercials or rewinding to catch a missed scene. These features can enhance your viewing experience significantly.
Don’t forget about mobile options. Many streaming apps allow you to download your recordings for offline viewing. This is perfect for long commutes or travel. Just make sure you have enough storage space on your device.
Transferring Recordings
Sometimes, you might want to transfer your recordings to another device. This is especially useful if you want to watch on a bigger screen or share with friends. Most modern DVRs and streaming devices support USB or external hard drive transfers.
To transfer recordings, simply connect your external storage to the DVR and follow the on-screen instructions. Usually, it involves selecting the files you want to move and choosing the destination drive. This process is often quick and straightforward.
Cloud storage is another great option. Services like Google Drive or Dropbox can store your recordings, making them accessible from any device with an internet connection. This is especially handy if you’re traveling or away from home.
Have you ever transferred a recording and found it didn’t play well on the new device? Compatibility can be an issue. Ensure the file format is supported by the device you’re transferring to. A quick online search can help you find the best format for your needs.
What playback option do you find most convenient? Are there any challenges you’ve faced while trying to watch your recorded content? Share your thoughts and tips in the comments below!
Troubleshooting Common Issues
Recording streaming TV can be tricky. Many users face common problems. These issues can affect the quality of your recordings. Troubleshooting these problems is vital for a smooth experience. Let’s explore some solutions to common recording problems.
Fixing Recording Problems
Check your internet connection. A stable connection is crucial. Slow internet can cause disruptions in recording. Restart your router if needed. Make sure your streaming device is updated. Outdated software can cause issues. Clear the cache on your device. This can solve many problems.
Ensure there is enough storage space. Low storage can stop recordings. Delete old files if necessary. Check the settings of your recording app. Ensure it is configured correctly. Restart your recording device. Sometimes, a simple restart can fix many issues.
Ensuring Quality Recordings
Choose the right recording settings. High resolution ensures good quality. Adjust the settings according to your needs. Avoid recording during peak hours. This can reduce buffering and improve quality. Use a wired connection if possible. Wired connections are more stable than wireless ones.
Check the audio settings. Ensure the sound is clear and at the right volume. Test the recording before starting a long show. This helps in identifying any issues early. Keep your recording device cool. Overheating can affect performance. Place it in a well-ventilated area.
Legal Considerations
Consider copyright laws before recording streaming TV. Unauthorized recording can lead to legal issues. Check streaming service terms for guidelines.
Recording streaming TV can be a great way to catch up on your favorite shows and movies at your convenience. However, there are important legal considerations you should be aware of before you hit that record button. Understanding copyright laws and fair use guidelines can save you from potential legal troubles.Understanding Copyright Laws
Copyright laws are designed to protect the creators of content. When you record a streaming TV show or movie, you are essentially making a copy of that content. This act is generally covered by copyright laws. For example, if you record a movie from a streaming service, you could be infringing on the rights of the movie’s creators. It’s important to know that different countries have different copyright laws. Make sure you understand the laws in your country before you start recording.Fair Use Guidelines
Fair use is a legal doctrine that allows limited use of copyrighted material without permission from the rights holder. This can include purposes such as criticism, comment, news reporting, teaching, scholarship, and research. However, fair use has its limits. For instance, recording an entire season of a show for personal use may not qualify as fair use. Ask yourself: Are you using the recording for educational purposes or simply for entertainment? The answer can determine whether your use is considered fair. Remember, fair use is a complex area of law. It’s always better to err on the side of caution to avoid legal issues. In summary, understanding the legal aspects of recording streaming TV is crucial. Make sure you are aware of copyright laws and fair use guidelines to enjoy your favorite shows without any legal hassles.Conclusion And Tips
Recording streaming TV can be a game-changer for those who want to enjoy their favorite shows and movies on their own schedule. Here, we will wrap up our guide with some final tips and best practices to ensure you make the most out of your recording experience.
Best Practices
To get the best results, ensure you have a stable internet connection. A slow or unstable connection can lead to poor recording quality, with issues like buffering or pixelation.
Use the highest quality settings available on your recording software or device. Higher quality settings will take up more storage, but the end result will be worth it.
Organize your recordings into folders or categories. This makes it easier to find and enjoy your content later. For instance, create separate folders for different genres or series.
Regularly check your storage space. You don’t want to miss recording your favorite show because your device ran out of space. Delete old or less important recordings to free up space.
Final Thoughts
Recording streaming TV is not just about convenience; it’s about enhancing your viewing experience. By following these best practices, you can avoid common pitfalls and enjoy your content hassle-free.
Think about your viewing habits and tailor your recording settings accordingly. Do you prefer binge-watching series, or do you enjoy watching movies on weekends? Adjust your settings to fit your lifestyle.
Lastly, always stay updated with the latest features of your recording software or device. Developers often release updates that can improve performance or add new features.
Have you ever found yourself struggling to find something to watch on a lazy Sunday afternoon? With a well-organized library of recorded content, you’ll always have something great ready to go.
Frequently Asked Questions
How Do I Record Streaming Tv To Watch Later?
Use a DVR, streaming service’s download feature, or screen recording software to record streaming TV for later viewing.
Can You Record On Streaming Tv?
Yes, you can record on streaming TV using DVR services provided by platforms like YouTube TV, Hulu + Live TV, and Sling TV.
Is There A Dvr For Streaming Services?
Yes, several streaming services offer DVR features. Services like YouTube TV, Hulu + Live TV, and Sling TV provide cloud DVR options.
Can You Record On A Smart Tv Without A Dvr?
Yes, you can record on a smart TV without a DVR. Use a USB storage device or an external hard drive. Ensure your TV supports this feature. Check your TV’s manual for specific instructions.
Conclusion
Recording streaming TV is easier than you think. Choose the right tool. Follow simple steps. Enjoy your favorite shows anytime. Revisit and save special moments. Share with friends and family. Recording gives you control over your viewing. You won’t miss a thing.
Stay entertained on your schedule. Happy recording!