How to Write to a Text File With Streamerbot: Step-by-Step Guide
Writing to a text file with Streamerbot is straightforward. It’s an essential skill for stream automation.
Streamerbot is a powerful tool for streamers. It automates tasks and improves engagement. Writing to a text file is one of its handy features. This guide will show you how to do it. You’ll learn the steps to create and write data to a text file using Streamerbot.
This skill can help you manage your stream better. It keeps your information organized and accessible. By the end, you’ll be able to use Streamerbot more effectively. Let’s get started!
Introduction To Streamerbot
Streamerbot is a powerful tool for streamers. It automates tasks and enhances viewer engagement. Many streamers use it to manage their streams more efficiently.
With Streamerbot, you can perform various actions. It includes writing to a text file. This feature helps in tracking events, logging data, and more.
What Is Streamerbot?
Streamerbot is a versatile automation tool. It integrates with streaming platforms like Twitch. Streamerbot offers multiple functionalities for streamers.
It helps in managing alerts, commands, and responses. Streamerbot can also interact with viewers through chat. This makes streaming more interactive and fun.
Importance Of Streamerbot In Streaming
Streamerbot is crucial for streamers. It simplifies many tasks during live streaming. Automating these tasks saves time and effort.
Streamers can focus on content creation. Streamerbot handles the technical aspects. This results in a smoother and more professional stream.
Viewer engagement increases with Streamerbot. It responds to chat commands instantly. This keeps viewers entertained and involved.
Overall, Streamerbot enhances the streaming experience. It makes managing a stream easier and more efficient.
Credit: extensions.streamer.bot
Setting Up Streamerbot
Setting up Streamerbot can feel like a daunting task, especially if you’re new to the software. But with the right guidance, you’ll be up and running in no time. Here’s a straightforward guide to help you get started.
Installation Guide
First, you need to download Streamerbot from the official website. Choose the version that matches your operating system, whether it’s Windows or macOS.
Once downloaded, run the installer file. Follow the on-screen instructions to complete the installation. It’s pretty much a “next, next, finish” situation.
After installation, launch Streamerbot. You’ll be greeted with an initial setup wizard. This will help you configure basic settings.
Initial Configuration
When you first open Streamerbot, you’ll need to connect it to your streaming platform. This is crucial for the bot to function correctly. For example, if you’re using Twitch, you’ll have to log in with your Twitch account credentials.
Next, set up your chatbot’s responses. You can customize how the bot interacts with your audience. This could be anything from welcoming new followers to responding to specific commands.
Don’t forget to save your settings. This might seem obvious, but it’s a step that’s often overlooked. Saving ensures that all your hard work doesn’t go down the drain.
Remember, getting the initial setup right is key to a smooth experience with Streamerbot. Have you ever struggled with setting up new software? How did you overcome it?
Connecting Streamerbot To Your Stream
Learn how to write data to a text file using Streamerbot. This guide helps you connect Streamerbot to your stream easily. Enhance your streaming experience with simple steps.
Connecting Streamerbot to Your Stream can transform your streaming experience. Whether you want to engage your audience or streamline your process, integrating Streamerbot into your setup is a game-changer. Let’s dive into how you can connect Streamerbot to your stream effectively.Linking Accounts
To start, you need to link your Streamerbot account with your streaming platform. This is where the magic begins. First, open Streamerbot and head to the settings menu. Look for the option to connect your streaming account. This could be Twitch, YouTube, or any other supported platform. Follow the on-screen instructions to authorize Streamerbot. Once connected, your Streamerbot can interact directly with your stream. You’ll be able to control various aspects right from the bot itself. It’s like having an extra set of hands working behind the scenes.Adjusting Stream Settings
Now that your accounts are linked, it’s time to adjust your stream settings. Open the Streamerbot dashboard to configure your preferences. You can set up commands that viewers can use to interact with your stream. Think about what kind of engagement you want. Do you want viewers to be able to trigger certain actions or alerts? Adjust these settings to fit your style. Don’t forget to test these settings before going live. You want everything to run smoothly. Run a few test commands to see how they appear on stream. This will ensure that your viewers get a seamless experience. Connecting Streamerbot to your stream is not just about the technical setup. It’s about enhancing your interaction with your audience. Have you ever thought about how a simple command can make your stream more interactive? If you’re a streamer, what’s stopping you from taking your stream to the next level with Streamerbot?
Credit: extensions.streamer.bot
Creating A New Action In Streamerbot
Creating a new action in Streamerbot can seem daunting at first, but it’s a straightforward process that opens up a world of possibilities for automating your stream. Whether you’re a seasoned streamer or just starting out, understanding how to set up actions can greatly enhance your streaming experience. Let’s dive into the steps for creating a new action in Streamerbot.
Navigating To Actions
First, open Streamerbot and navigate to the main menu. Look for the “Actions” tab on the left-hand side of the screen.
Clicking on “Actions” will bring up a list of all your existing actions. This is where you’ll manage and create new actions to automate various tasks during your stream.
Have you ever wondered how to keep your stream engaging without manually handling every task? This is where actions come in handy. They allow you to automate repetitive tasks, saving you time and effort.
Setting Up A New Action
Now, let’s create a new action. Click on the “Add Action” button located at the top right corner of the Actions window.
A new window will pop up, prompting you to enter a name for your action. Choose a descriptive name that helps you remember what the action does.
Next, you’ll need to define the steps for your action. For instance, if you want to write to a text file, you would add a step that specifies this task. You can find this option under the “Output” category in the action editor.
Ever thought about how writing to a text file can keep your stream organized? It’s a simple yet effective way to log important events or messages during your stream.
After adding the steps, don’t forget to save your action. This ensures that your settings are stored and ready to be executed during your stream.
Streamlining your workflow with actions can make your streaming experience more enjoyable and less stressful. What action will you create next to enhance your stream?
Writing To A Text File
Writing to a text file with Streamer.bot can be a handy tool in your streaming toolkit. Whether you’re looking to keep track of viewer requests, log chat messages, or update your stream overlays in real-time, learning how to write to a text file is essential. Let’s break down the steps to make this process simple and effective.
Adding The Write Action
First, you’ll need to add a write action in Streamer.bot. Open Streamer.bot and navigate to the Actions section. Click on the “Add Action” button to create a new action. Name your action something descriptive like “Write to File Action” so you can easily identify it later.
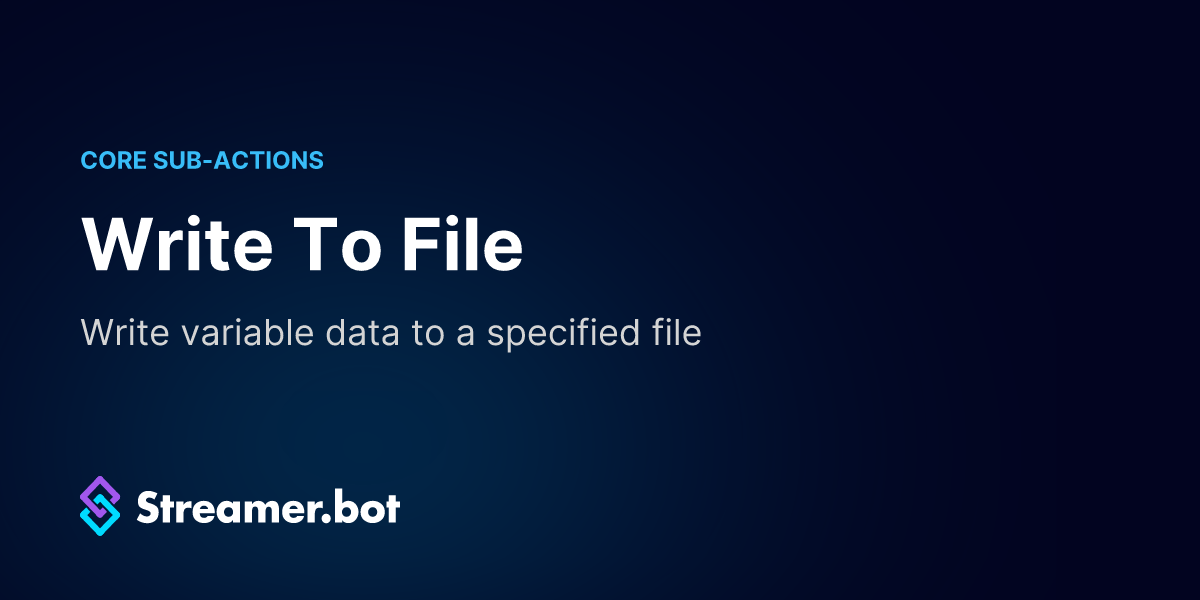
Next, you’ll need to add the actual write command. In the Action Editor, click on “Add Sub-action” and select “Write to File” from the list of available sub-actions. This is where you’ll specify what content you want to write to the text file.
Specifying File Path And Content
Now, let’s specify the file path and the content to be written. In the “Write to File” sub-action settings, you’ll see an option to specify the file path. This is where you tell Streamer.bot where to save the text file. Use a complete path like C:\Users\YourName\Documents\streamdata.txt.
Next, determine what content you want to write. You can use variables to include dynamic data. For example, if you want to log viewer messages, you can use {message} as the content to be written. This ensures that each new message is logged accurately in your text file.
Don’t forget to save your action! Click the “Save” button in the Action Editor to ensure all your settings are applied. Now, whenever the action is triggered, Streamer.bot will write the specified content to your text file.
Writing to a text file with Streamer.bot is a straightforward process that can significantly enhance your stream management. Have you tried using text files to keep track of viewer interactions or update overlays? Share your experiences and tips in the comments below!
Testing Your Setup
Testing your setup is a crucial step in ensuring that Streamerbot writes to a text file correctly. It helps identify any issues early, saving you time and effort in the long run.
Running A Test Action
Start by creating a simple test action in Streamerbot. This action will help you verify if everything is set up correctly. Go to the Actions tab and create a new action. Name it something easy to remember, like “Test Write”.
Add a command to this action that writes a simple message to your text file. For example, you could write “Hello, Streamerbot!” to test if the text file is updated. Save your changes.
Now, trigger this action manually. Check the text file to see if the message appears. If it does, your setup is working correctly. If not, proceed to troubleshooting.
Troubleshooting Common Issues
Sometimes, things don’t go as planned. If your test action didn’t work, there might be a few reasons. First, check the file path. Ensure it’s correct and accessible by Streamerbot. A common mistake is having a typo in the file path.
Next, check the permissions. Ensure Streamerbot has the necessary permissions to write to the file. You might need to adjust your file or folder settings.
Another issue could be with the action command. Double-check that you’ve written the command correctly. Even a small mistake can prevent the action from working.
Finally, review your Streamerbot logs. They can provide valuable insights into what went wrong. Use these logs to pinpoint and fix the issue.
Advanced Writing Options
When writing to a text file with Streamerbot, there are several advanced options to consider. These options allow you to customize how data is written, making your file management more efficient. Two important features are appending vs. overwriting and using variables in text. Understanding these can greatly enhance your control over the writing process.
Appending Vs. Overwriting
Appending adds new content to the end of the file. This is useful for logs or continuous data. It ensures that previous data remains intact. Overwriting, on the other hand, replaces the existing content. Choose this option when you need to update or reset the file content. Both methods have their benefits depending on your needs.
Using Variables In Text
Variables can make your text dynamic. They allow you to insert changing data into your file. For example, you can add timestamps, user names, or scores. This makes your file more informative and relevant. Streamerbot supports various types of variables. Learn to use them to make your writing more powerful.
Credit: docs.streamer.bot
Best Practices
Writing to a text file with Streamerbot is a useful skill. It helps automate tasks and keeps records organized. But, it’s important to follow best practices. These ensure the text file remains clean, secure, and reliable. Let’s explore some best practices.
Maintaining File Hygiene
Always keep your text files tidy. Remove any unnecessary lines or data. This helps keep your file size manageable. Also, use clear and consistent file names. This makes it easier to locate and understand the files later. Additionally, avoid using special characters in file names. They can cause errors in some systems.
Regular Backups
Make regular backups of your text files. This prevents data loss in case of a system failure. Set a schedule for backups. Daily or weekly backups are often enough. Use external storage or cloud services for storing backups. This adds an extra layer of security. Also, test your backups periodically. Ensure you can restore files when needed.
Frequently Asked Questions
How Do I Send Output To A Text File?
Use the command line to redirect output: `command > filename. txt`. This saves the output to a text file.
How Do You Write A String Of Text Into A File?
Use Python’s `open()` function with mode ‘w’. Write the text using `write()`. Close the file with `close()`.
How Do You Write A Text File In Flutter?
Use the ‘dart:io’ library. Create a new file using ‘File(path). writeAsString(contents)’. Ensure appropriate permissions on mobile devices.
How Do I Convert A Certificate To A Text File?
Open the certificate file in a text editor. Save it with a. txt extension. Ensure proper formatting.
Conclusion
Writing to a text file with Streamerbot is straightforward. The steps are simple. Follow them, and you’ll succeed. Practice the process a few times. Soon, it will become second nature. Streamerbot offers great flexibility. This tool can enhance your workflow.
Keep exploring its features. Happy streaming and writing!